Security - Physical Security
After setting up the framework for our security series, we will finally have a look at the first security improvements. What can we do, to avoid that somebody physically compromises our hardware? And what does this even mean?


After setting up the framework for our security series, we will finally have a look at the first security improvements. What can we do, to avoid that somebody physically compromises our hardware? And what does this even mean?
Introduction
The series is addressing security and hardening patterns. The below articles are based on a scenario, provided in the "Security - Getting Started" article.
- Getting Started
- Physical Security
- Data Security
- Network Security
- Transport Security
- Session Security
- Presentation Security
- Application Security
- The human layer
Today, we will have a look at the physical infrastructure – meaning our server infrastructure.
Physical Security in our Example
As a reminder, our example scenario is described as:
I want to host a Nextcloud service in a private network, with public access on a RedHat-family Linux system. The service will be used from me, my family and some friends. Since the service might hold critical data like contacts, private photos or my CV, I want to ensure a high security standard.
This indicates, that we will require some hardware in our home, that is running the services. This can be a Raspberry Pi, a small home server, or just an old computer under our desk. For the sake of this article, we will use a dedicated home server, as described in the "Fedora - Home Server" series.
Physical security here means: "How can we avoid that this hardware is stolen or compromised?"
Assess
First, we need to assess what we have. In my case, it is an Intel NUC system. You might remember the below picture.
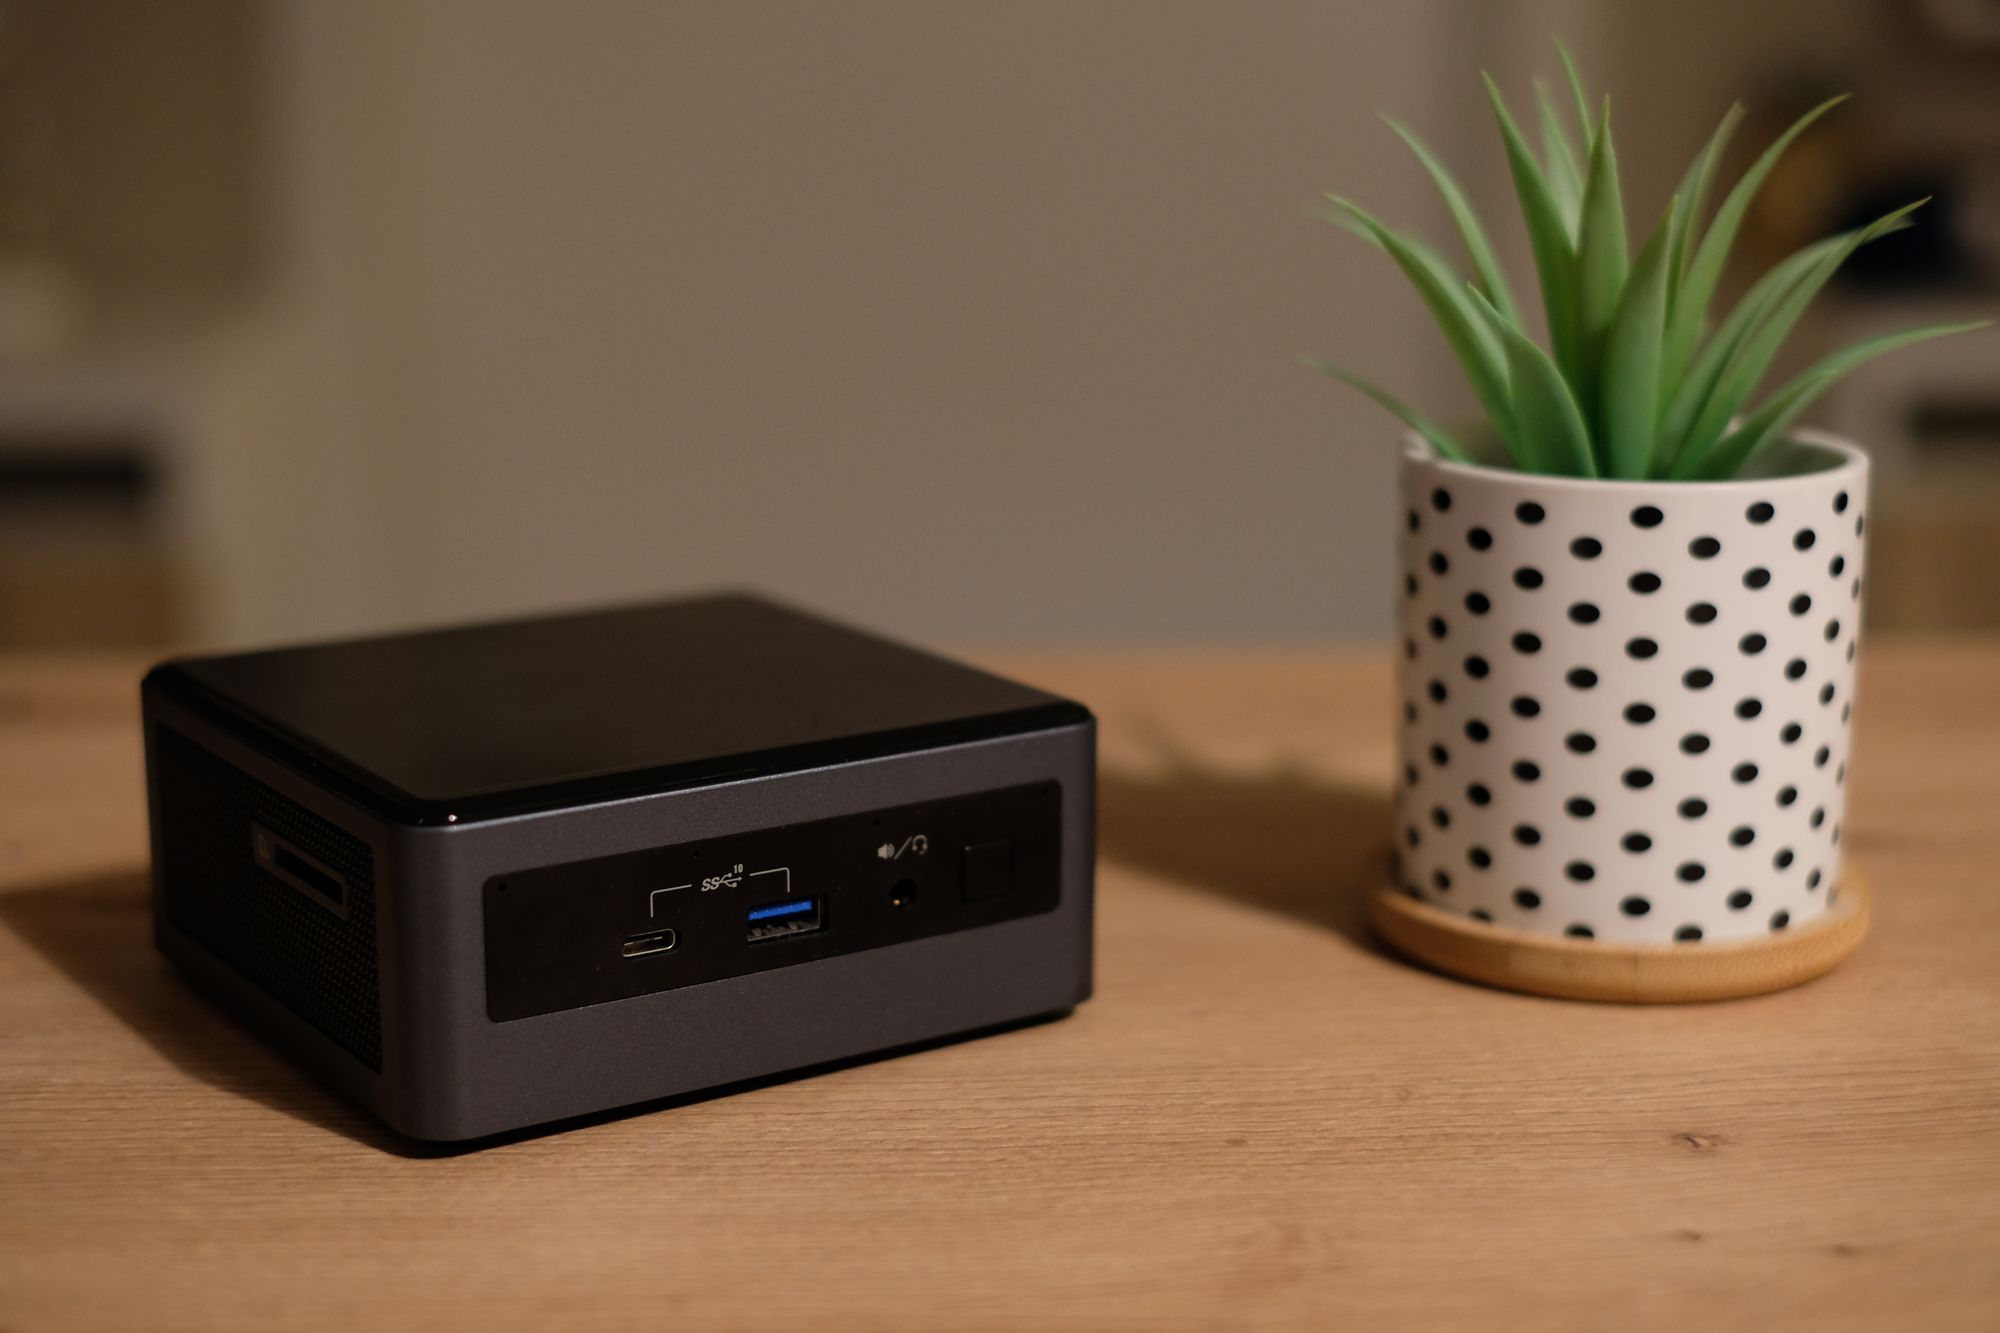
As you can see, it is a small device with several ports like USB. It is an Intel Nuc Mini with an Intel i5-10210U. Pretty boring, right?
Furthermore, it is placed in a cabinet, without any peripherals attached (headless). But, the machine is directly connected to a small network switch.
Analyze
The analyzation phase is meant to get an overview of possible threats and risks. Well, we do have a physical machine. Which threats might occur?
Theft
One might simply steal the thing or parts of it.
UEFI/BIOS
One might access UEFI/BIOS or change settings there. One might plug in a keyboard and monitor to get access. Furthermore, one might also plug in a USB drive to boot from.
Rogue USB devices
It's very easy to buy devices like keyloggers, they are even on Amazon and they are cheap. One might connect such a device between your keyboard and the machine and read everything you are typing on your keyboard.
Another threat is, that one might attach a USB thumb drive to boot from it or with malicious software on it. There is lots of stuff possible, be it rootkits, pre-configured WiFi/Network devices or more specialized devices.
Action
After getting an idea what threats our system, we want to take care of these measures. Let's see what we can do to reduce the risks. Shall we?
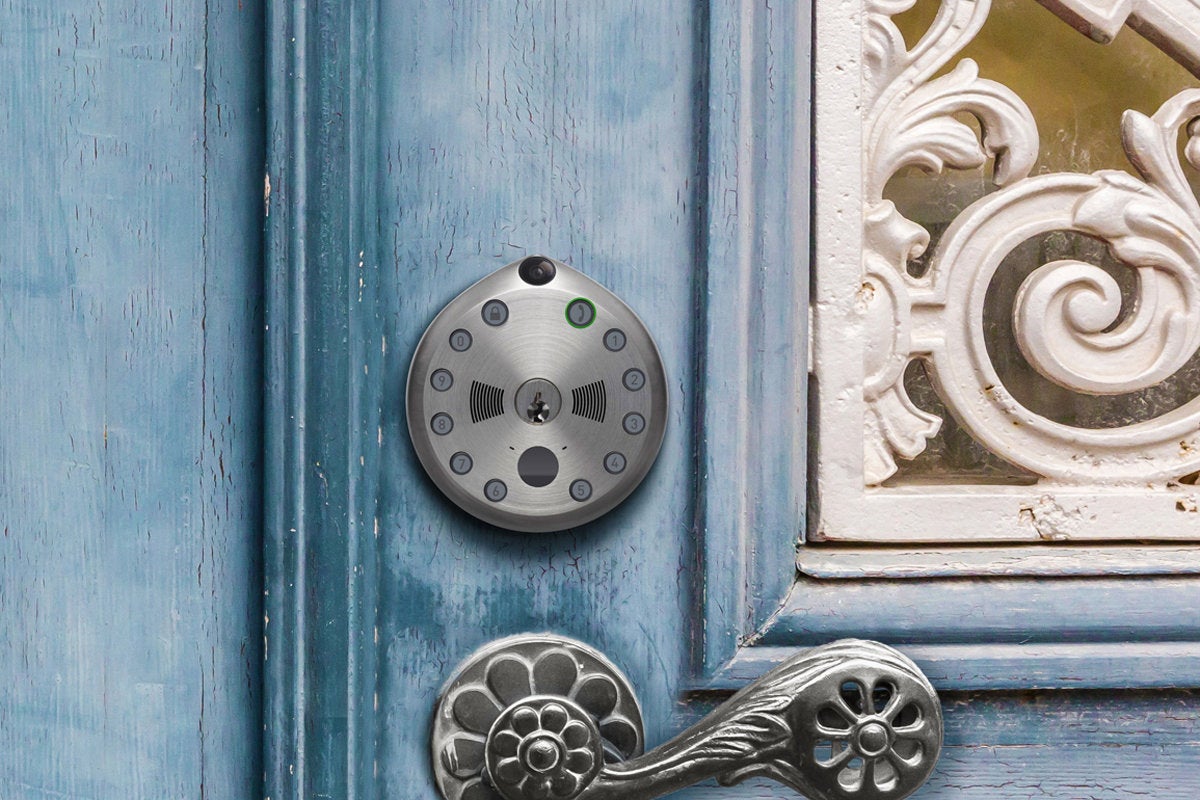
Theft Mitigations
To avoid theft, you can make it harder to get the thing stolen.
You can fix many devices with screws or a Kensington Lock. Investing in a lock for your cabinet where the device is in, seems reasonable, too. If you have the spare money, you might put it into a dedicated network cabinet. These are also available in smaller sizes and have a lock by default.
All of these will not avoid stealing by 100%, but make it harder to "just grab it".
UEFI/BIOS
All hardware x86 machines are offering a BIOS/UEFI configuration. Normally, you are not having a look in it, because you may break things. But, if you want to secure your machine, you should work though some settings.
Unfortunately, most UEFI/BIOS configuration interfaces are heavily customized by the vendors. This makes it hard to provide a standard, that is applicable for exactly your machine. This is not only about the looks of the interface, but also features. Therefore, see the below list of options as something you want to look out for.
A UEFI/BIOS password will prevent that somebody can make changes to the settings that will follow. This was supported by almost all machines I ever had a look at. Sometimes it is named Admin Password, sometimes UEFI password or Configuration Password.
The second thing I am configuring on machines is the boot order. After installing the system, you want to boot only from a hard disk. Therefore, removing all other options avoids that somebody can plug in a USB stick and boot from it.
The third option, that is supported by all modern UEFI systems, is Secureboot. It will avoid that the kernel is changed via a rootkit or other malicious software. Fedora, CentOS, AlmaLinux and RHEL are supporting Secureboot, so it is recommended to enable it. I am not entirely sure about other Linux distributions, though.
The next part, I am always looking at, is "integrated devices". Here we can disable unnecessary ports for USB, Audio, Display, etc. Disabling devices that aren't used in your setup is a good idea to avoid hijacking, but also can save some power.
Optionally, you can enable a System/Boot password or hard disk password. Depending on your UEFI/BIOS they do support reboot without entering the password again. I am avoiding this on most servers, since entering a password for the boot is somewhat "meh". In the next part of the series, I will also explain how disk encryption can be used to secure the boot process. This allows "automatic unlock", too.
Rogue USB devices
To take care of rogue devices, you might want to disable the USB ports via UEFI/BIOS as explained in the previous section. This works, if you don't want to connect any devices anyway.
In case you want to use USB ports to connect a keyboard or your own USB thumb drive, USBGuard comes to help. It's a small service, that allows to define rules for connectable devices, in a very granular way. It features a "training mode", too.
It's pretty easy to get this going on RedHat-family systems:
# Install USB guard
$ sudo yum install usbguard

# Generate a policy (all connected devices allowed)
$ usbguard generate-policy > /etc/usbguard/rules.conf

# start and enable the service
$ sudo systemctl enable --now usbguard.service

# Scan for other / new devices
$ sudo usbguard list-devices

# Allow a new device from above list
$ sudo usbguard allow-device 6
This way, you can allow your own keyboard and your desired thumb drives and filter rogue devices, very easily.
Automate
Doing all security actions manually and remembering them is pain, isn't it? Let's see if there is something we can automate.
UEFI/BIOS
The automation of UEFI/BIOS settings can be done on most enterprise devices. There are a couple of Ansible collections that support vendors like Dell or EMC:
For user hardware, this is uncommon. But, most UEFI/BIOS settings can be saved in a custom profile or user profile, which can be loaded if something goes sideways.
Rogue USB devices
Automating the setup for USB guard is pretty easy and can be done in Ansible, with just some simple tasks. The below playbook will demonstrate this. It should work on AlmaLinux, Fedora, Rocky Linux, CentOS Stream and RHEL.
---
# playbooks/deploy_usbguard.yml

- name: "Deploy and configure USBGuard"
  hosts: "all"

  tasks:

    - name: "Install USBGuard Packages"
      ansible.builtin.packages:
        name: "usbguard"
        state: "present"
      become: true

    - name: "Configure USBGuard Policies"
      ansible.builtin.shell:
        cmd: "usbguard generate-policy > /etc/usbguard/rules.conf"
      changed_when: false
      become: true

    - name: "Start & Enable usbguard"
      ansible.builtin.service:
        name: "usbguard.service"
        state: "started"
        enabled: true
become: trueYou can run this playbook very easily for a single host or a given inventory.
# Run playbook
$ ansible-playbook -u USER -k -K -i IP_ADDRESS, playbooks/deploy_usbguard.yml
If you make it part of your regular playbook runs, you will ensure that everything works fine. Furthermore, if you plug in a new USB drive, you can execute the above command to make it work, too.
Audit
Auditing the above-mentioned situations is a bit tricky. You might set up alerts for USBGuard, which will notify you if it is not running. I will introduce service monitoring in one of the next articles, so let's skip it for now.
Docs & Links
Here you can also find some more ideas of what can be part of physical security and some documentation for USBGuard.


Conclusion
Hopefully, you can implement some of the above measures to your IT environment or home network. In the next article, we will have a close look at data security.
For now, please let me ask: How do you secure your machine(s) from physical threats? Is there anything I forgot?