Ansible - AWX 2/2
Last week, we installed AWX. It is one of the Open Source upstream developments for Red Hat Ansible Automation Platform. In the second part of this article, we will explore the UI and add our first workload to AWX.


Last week, we installed AWX. It is one of the Open Source upstream developments for Red Hat Ansible Automation Platform. In the second part of this article, we will explore the UI and add our first workload to AWX.
Previous article
In the last article of this 2-part-series, we installed the AWX operator and AWX in Kubernetes. In case you don't have an AWX playground running, I recommend giving it a read, first.
 Daniel Schier
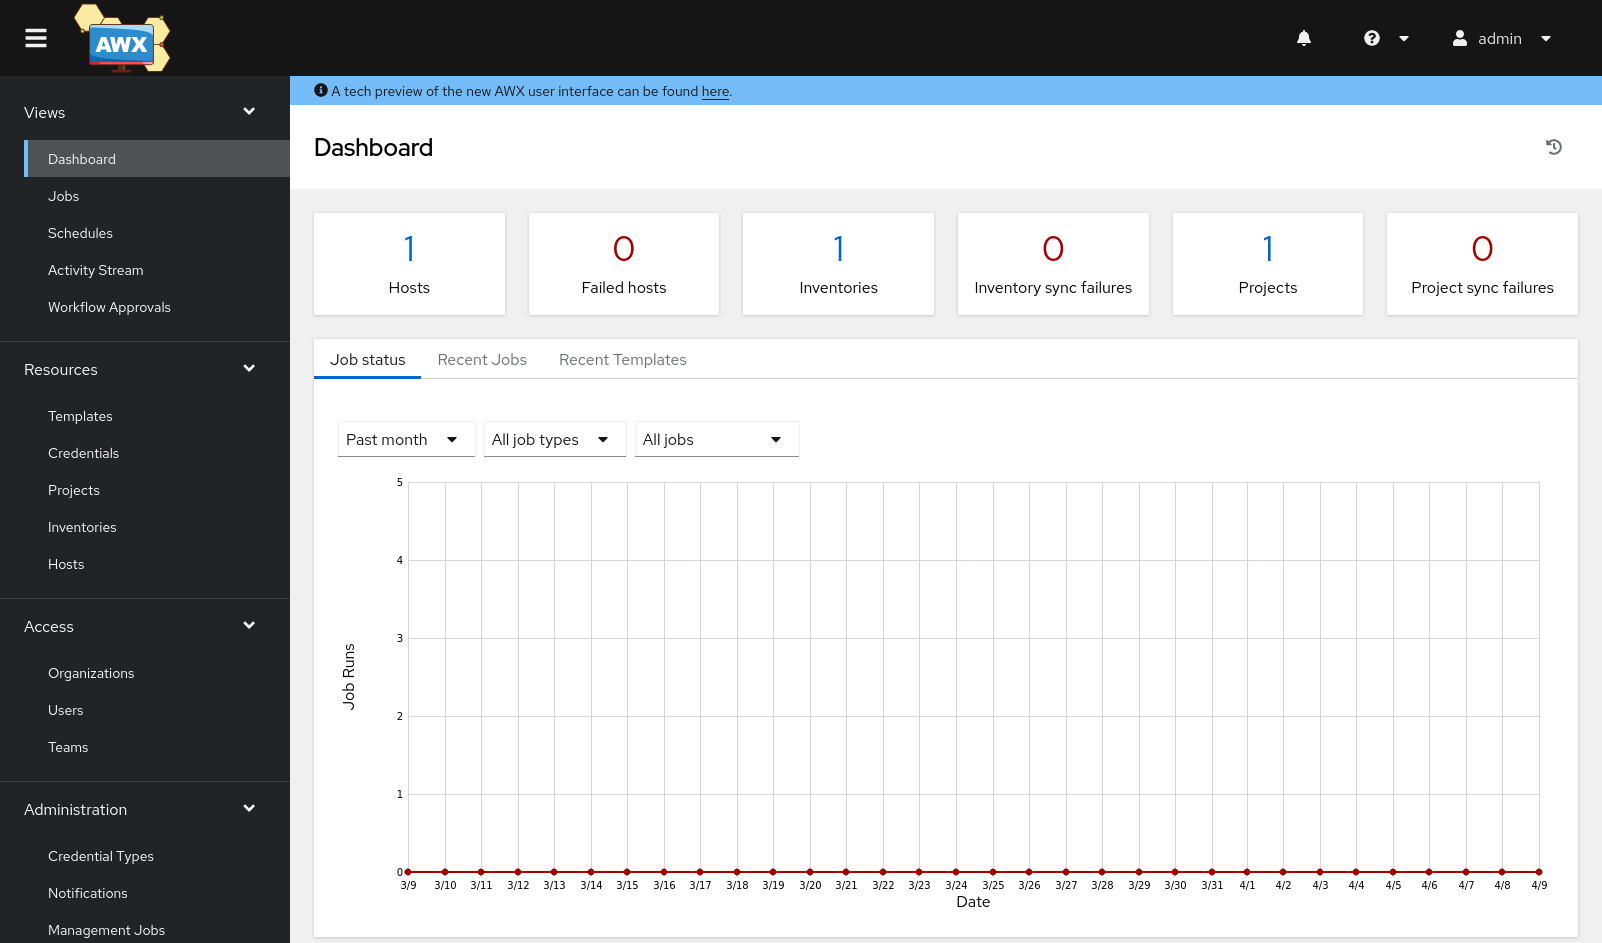
Exploring AWX
With the last article, we stopped right after the first login.
First Login
After pointing our browser to the desired address, we ended up with the login screen.
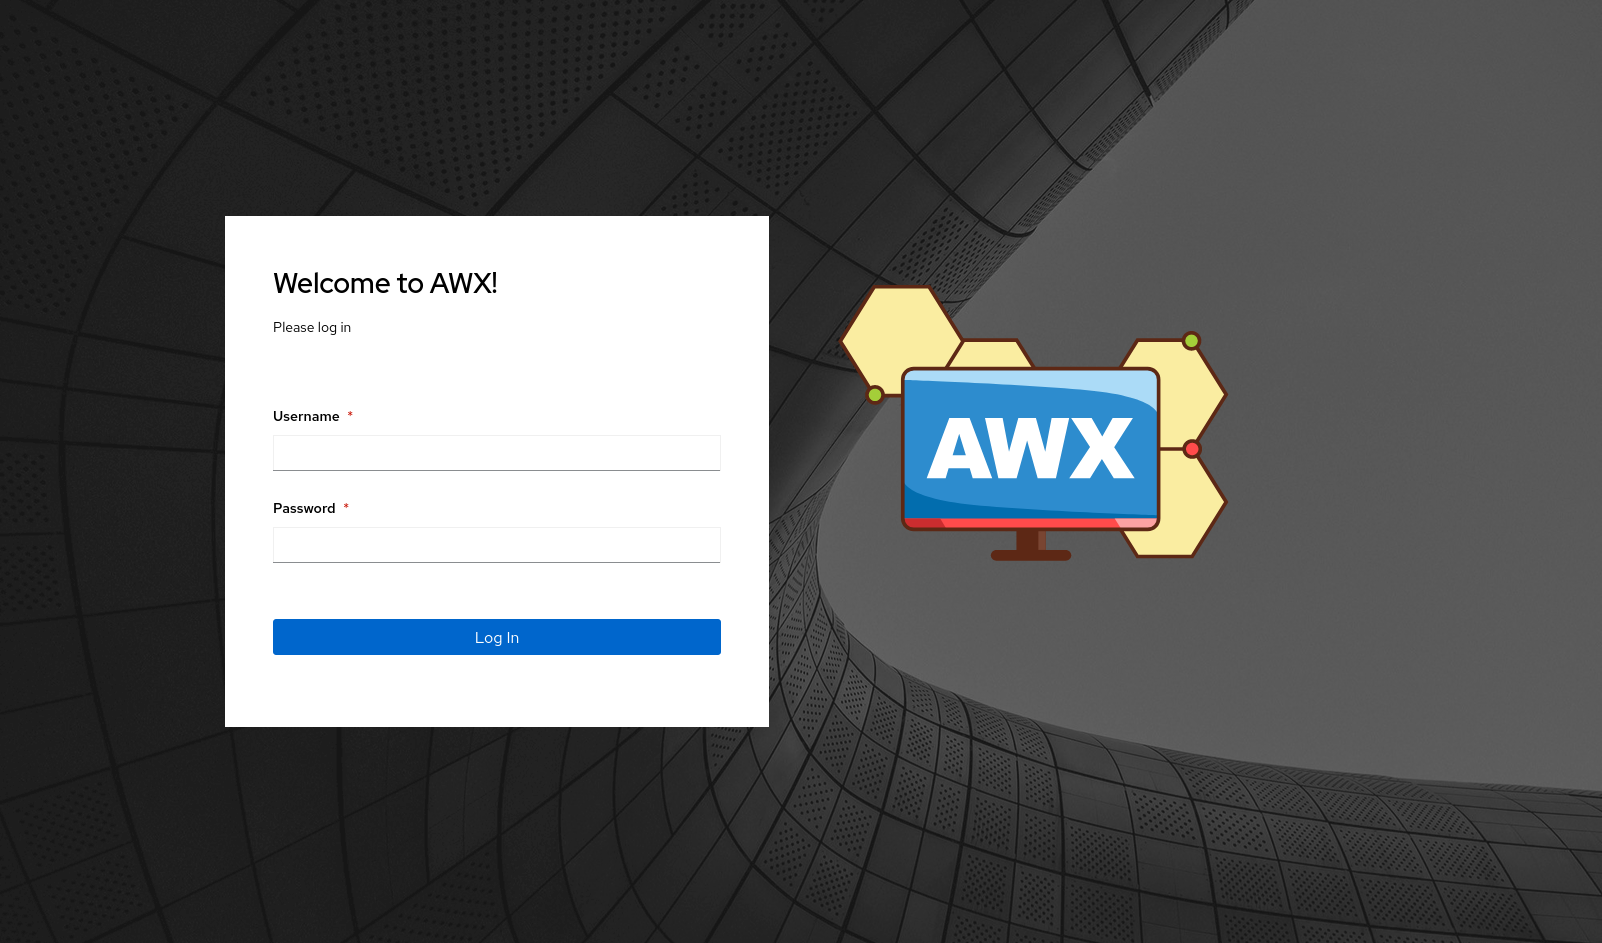
The initial password could be fetched via:
# Get the secret for login
$ kubectl -n awx get secret myawx-admin-password -o jsonpath="{.data.password}" | base64 --decode
7poeEydAh3ooDyFL5xPnGqhRAJSDz1K1
And finally, we ended up in:

Our little project
For the sake of the below steps, I want to use a little example project. Let's keep it to the absolute minimum. I want to install a PostgreSQL on a single AlmaLinux 9 machine, initialize it and start the service. Nothing too fancy. You may add create a database, add a user and grant permissions for practicing purposes.
No worries, I will provide the code alongside the below steps and the repository where you can find the code examples at the end.
Defaults
When starting AWX the first time, you will have some dummy project data created already. This might be helpful, if you want to explore AWX on your own. For the sake of this tutorial, let's make a "from scratch" situation.
Organizations
AWX has something called organizations. This is somewhat like a tenant management. In case you do have multiple teams, each of them with their own playbooks, it is a good idea to create an organization for each of them. Most objects, like projects, inventories, or jobs will live in an organization context. Also, users can be permitted to be part of an organization.
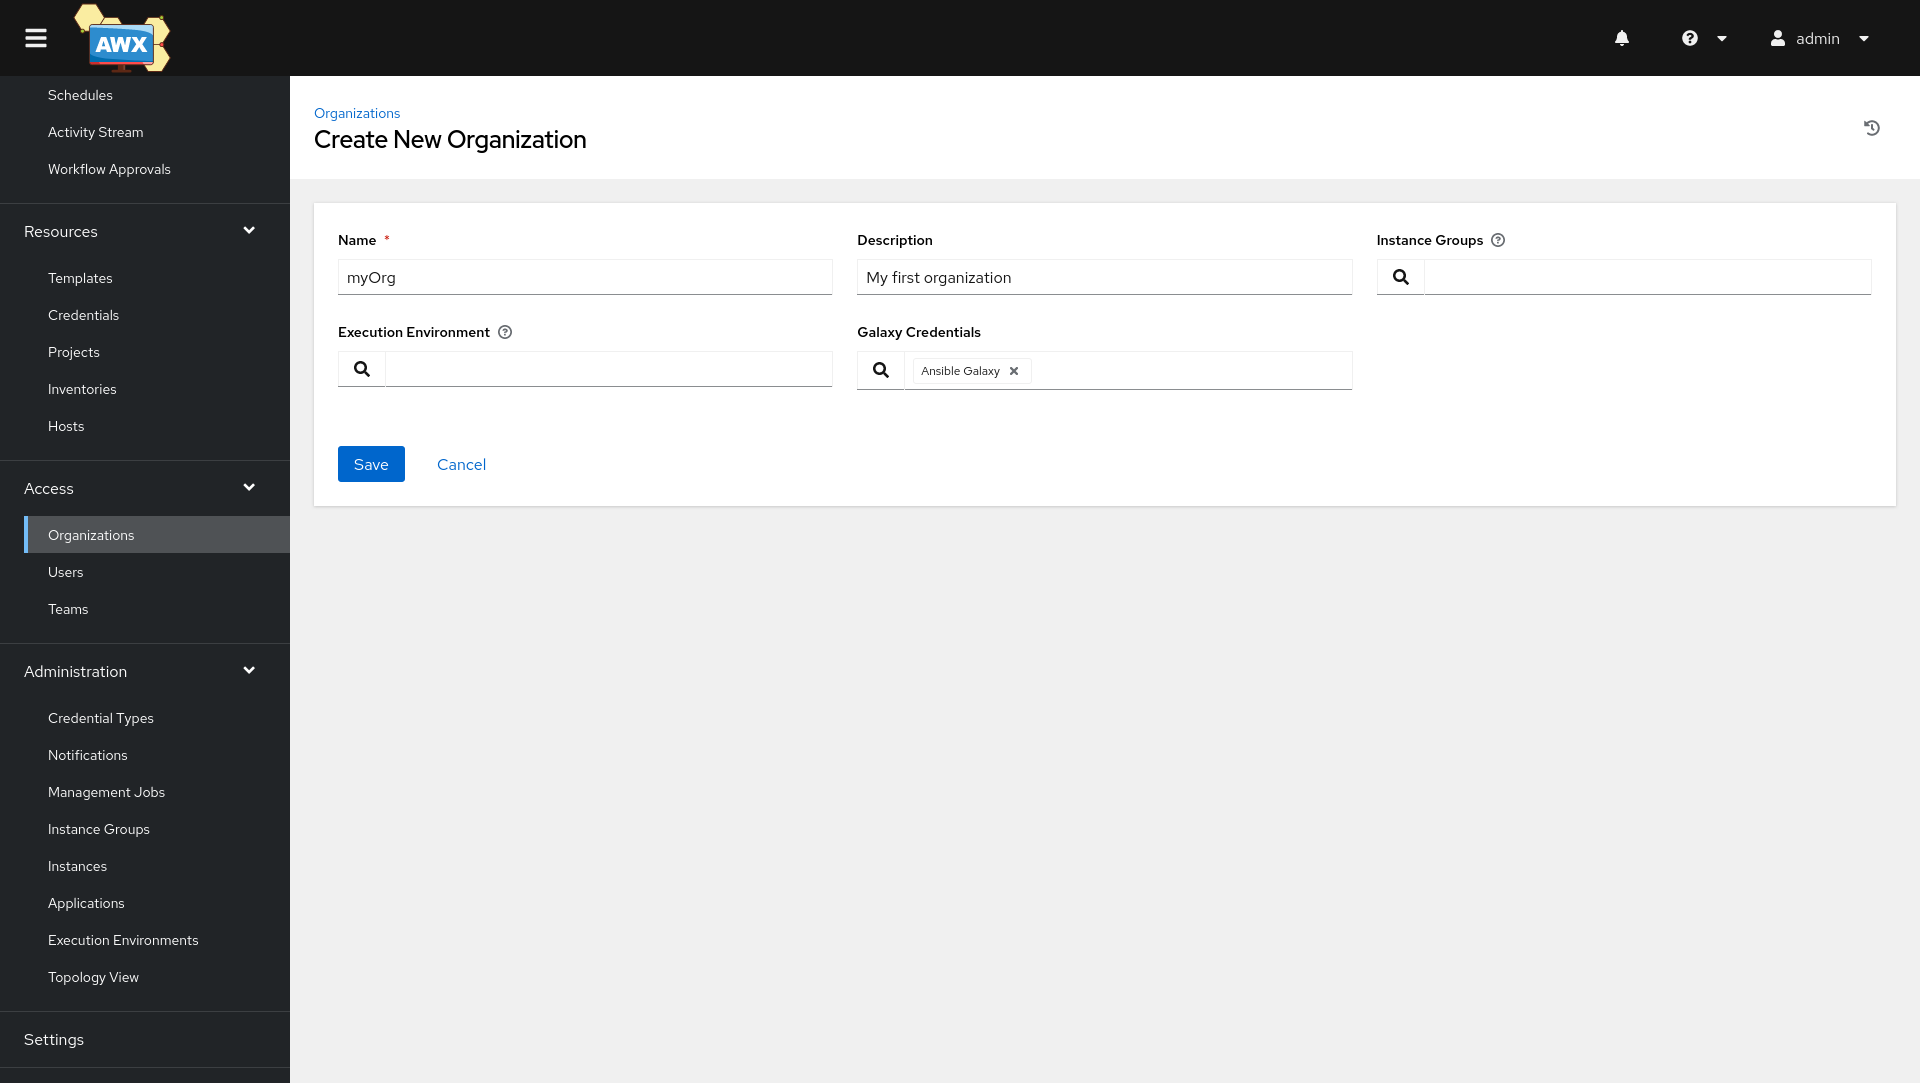
As a first step, let's create an organization. You can name it however you want. For now, let's not worry about instances or execution environments. We will take a look at these later.
Users
Next, we want to create and permit users for our new organization. A user is a real person by design. For now, there should be only the "admin" user. Let's create three more, each for the different roles.
I opted for the following three users.
- myAdmin (System Administrator) will be capable to manage the entire system, including new organizations and user management
- myManager (System Auditor) will be able to access all pages for all organizations, but cannot change anything. This is perfect if you want somebody to review the work, without performing any additional tasks.
- myUser (Normal User) is able to execute jobs (as soon as we created some) and also add personal credentials. Otherwise, users are pretty limited.
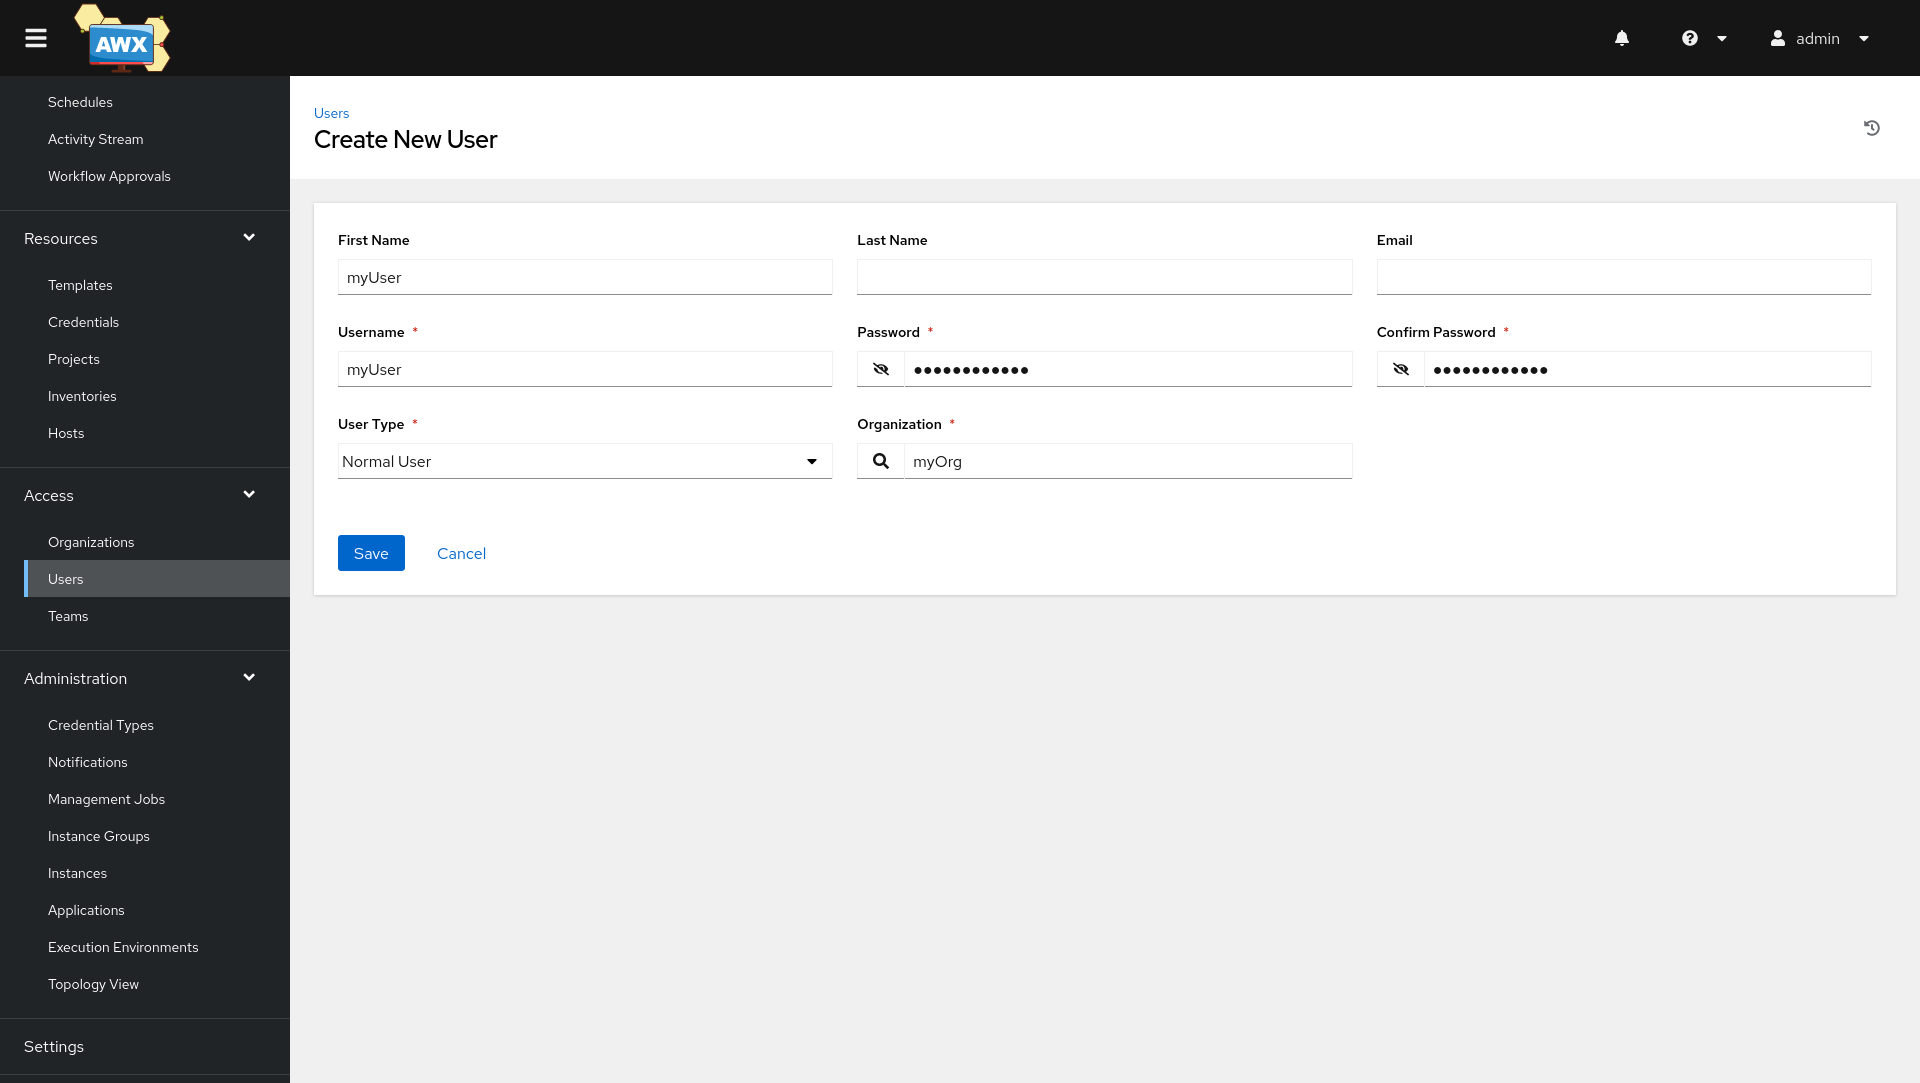
For now, these users don't make a lot of sense, but I encourage you to log in with each user for the following steps and see what one can do and what not.
Teams
In case you already played around with the above default roles and our fresh users, you might wonder "How can I create an administrator, but only for an organization?". This is what the Teams are for.
You can create a team, but also roles that are in this team. If your team consists of 2 operators, a Product Manager and 4 developers, but also someone from QA, you can create a team and roles to your liking. Each role can get granular access to objects and resources.
For this guide, I will not go into details, but encourage you to give it a try for production use cases in a team.
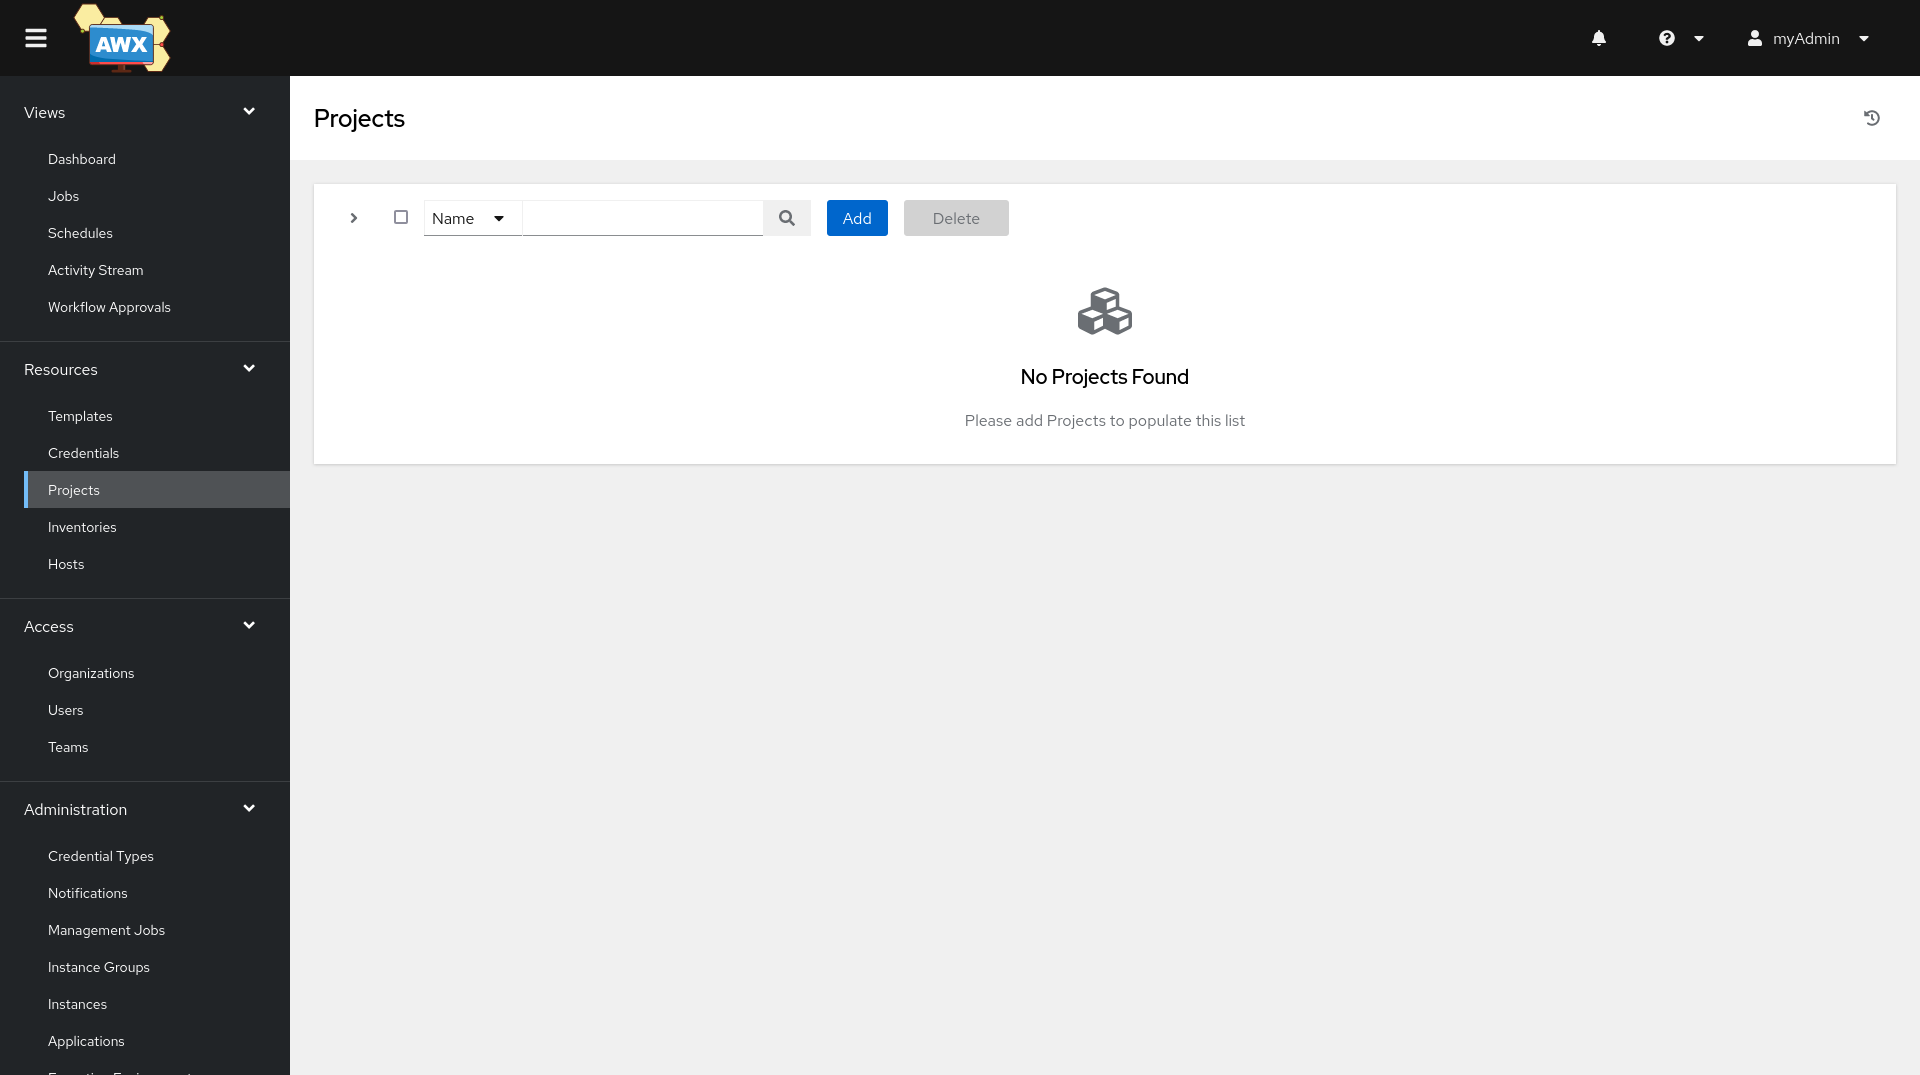
Projects
A project is the first part where your code is needed. As promised, we want to add a Git repository here. But wait, we haven't created one, yet. Therefore, let's do this.
Creating a project
Let's keep it simple. But, as you might have thought, AWX has some best practices how a project repository should look like. In general, this is pretty easy. We require a directory layout like shown below.
$ tree
.
├── README.md
├── site.yml
└── requirements.yml
Logically, you might write your playbook site.yml, first. Here we go.
---
- name: "A simple playbook"
  hosts: "db"
  tasks:

    - name: "Install PostgreSQL Packages"
      ansible.builtin.package:
        name:
          - "postgresql-server"
          - "python3-psycopg2"
        state: "present"
      become: true

    - name: "Check for PostgreSQL Init"
      ansible.builtin.stat:
        path: "/var/lib/pgsql/data/PG_VERSION"
      become: true
      register: "r_pginit"
      changed_when:
        - "not r_pginit.stat.exists"

    - name: "Initialize PostgreSQL"
      ansible.builtin.command:
        cmd: "/usr/bin/postgresql-setup initdb"
      become: true
      when:
        - "not r_pginit.stat.exists"

    - name: "Start & enable PostgreSQL Service"
      ansible.builtin.service:
        name: "postgresql"
        state: "started"
        enabled: true
      become: true

    - name: "Create PostgreSQL Database"
      community.postgresql.postgresql_db:
        name: "testdb"
        state: "present"
      become: true
      become_user: "postgres"
...
site.yml
The last task requires a special collection, so we might add it to the collections/requirements.yml file.
---
collections:
  - name: "community.postgresql"
...
requirements.yml
And that's already all the code. You can push it to any repository you like. It is common practice to have either a repository per service or a single repository for all your services with an internal structure.
I have pushed the code to the blog repository, so you can copy it.
Integrating a project
Now, we want to create a new project and integrate the code from our repository above. To do so, I logged in with our freshly created myAdmin user and opened the Projects tab.
After hitting the Add button, we just need to fill in everything.
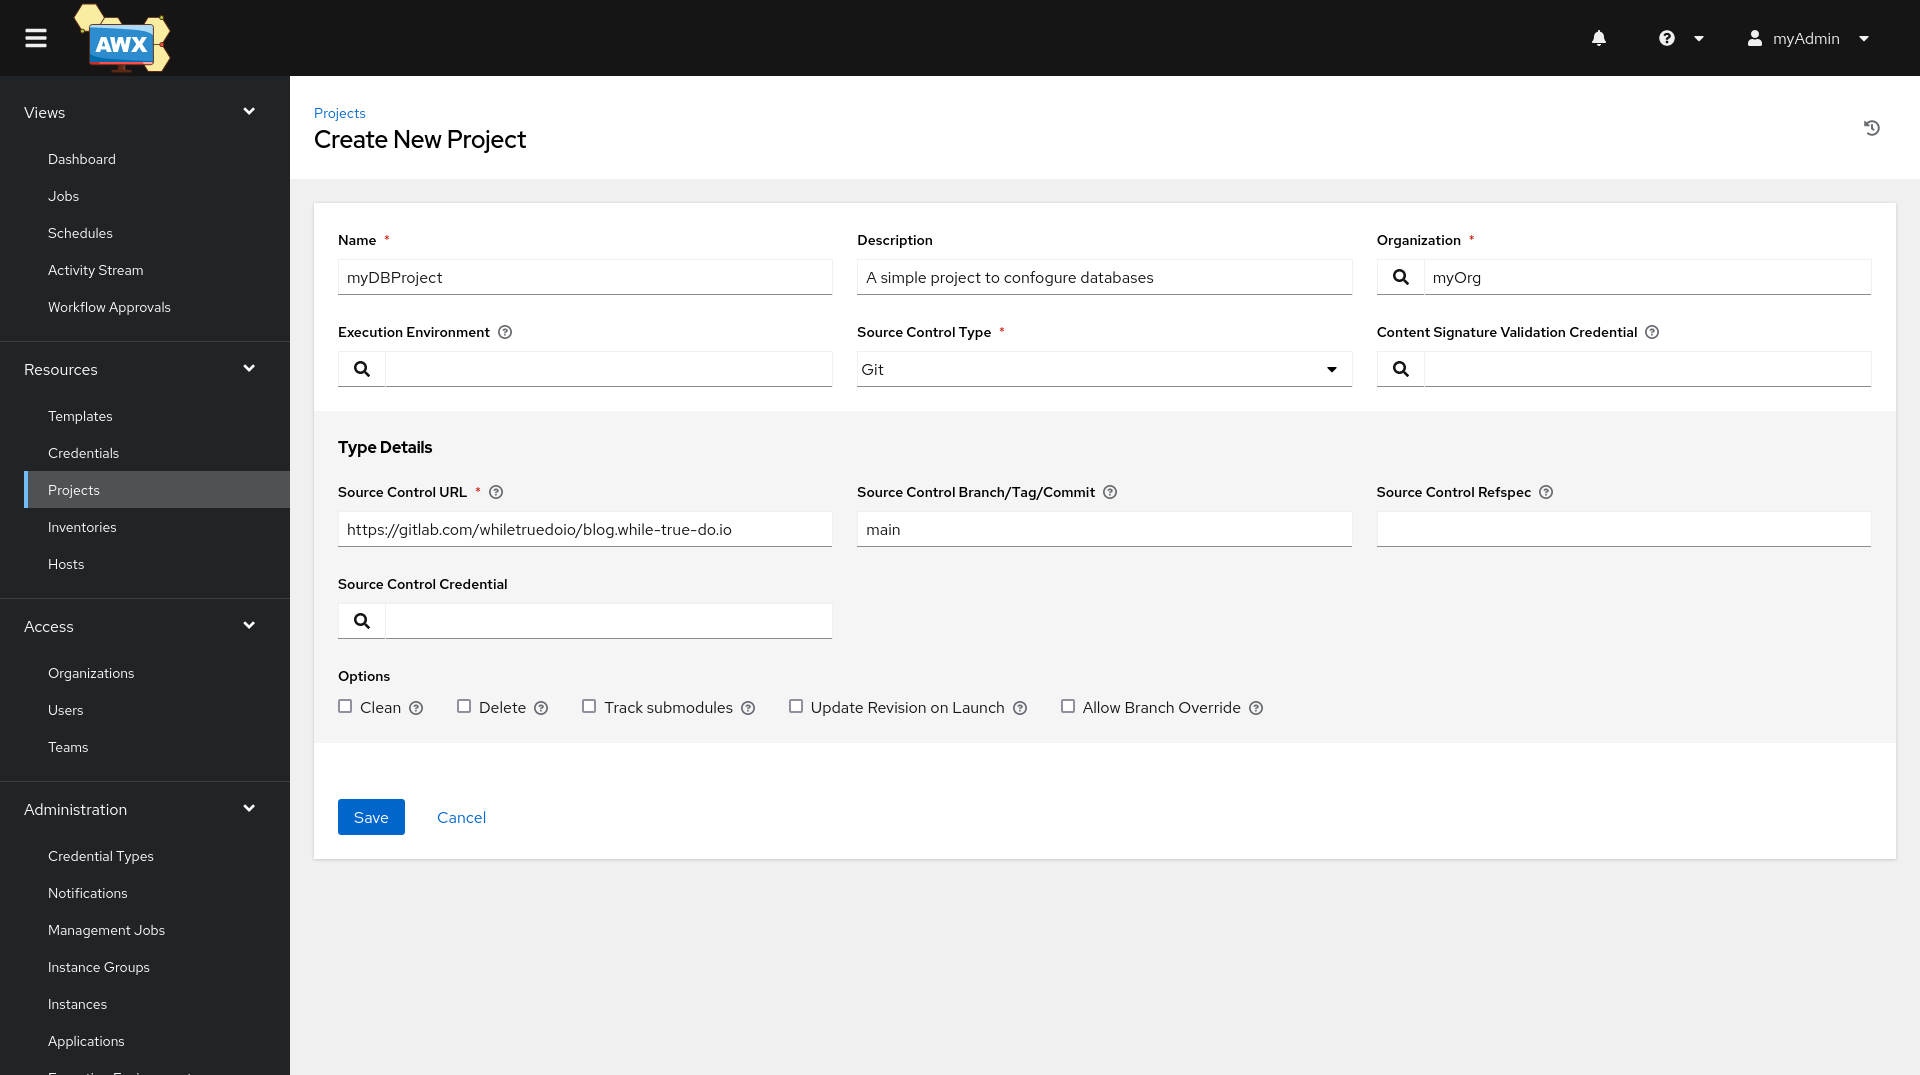
If you have done this part right, AWX will try to sync the content.
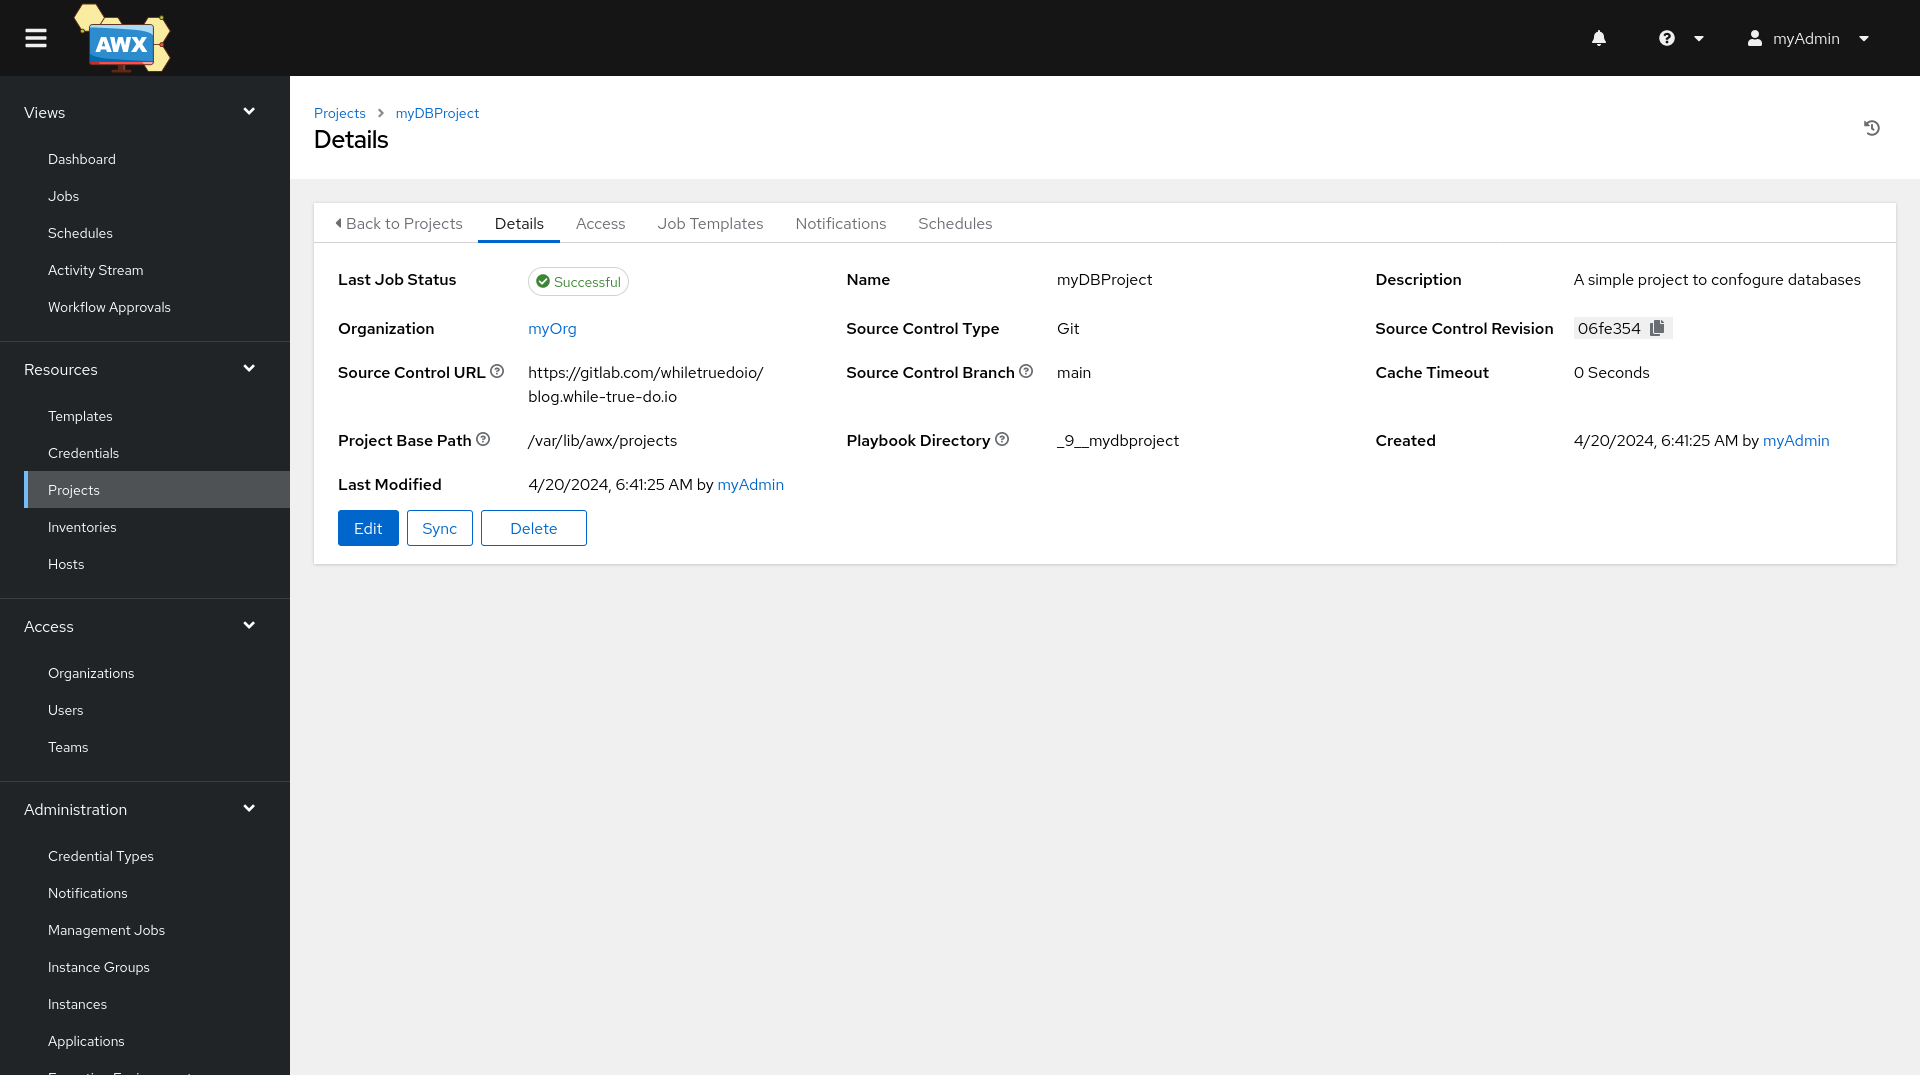
And that's already it. Our project is integrated.
Inventories
But wait, we want to configure our target hosts, too. To do so, I wrote a simple inventory file. You can integrate this as plain text or from a repository, too.
---
all:
  children:
    db:
      hosts:
        db01:
          ansible_ssh_host: "192.168.122.74"
...
I stored in the same repository, for demonstration purposes. A more flexible way is, splitting the inventory in a dedicated repository (and therefore project). This way, you can add new hosts without touching the logical code.
Anyway, after opening the Inventories tab, you will need to add your inventory, too.
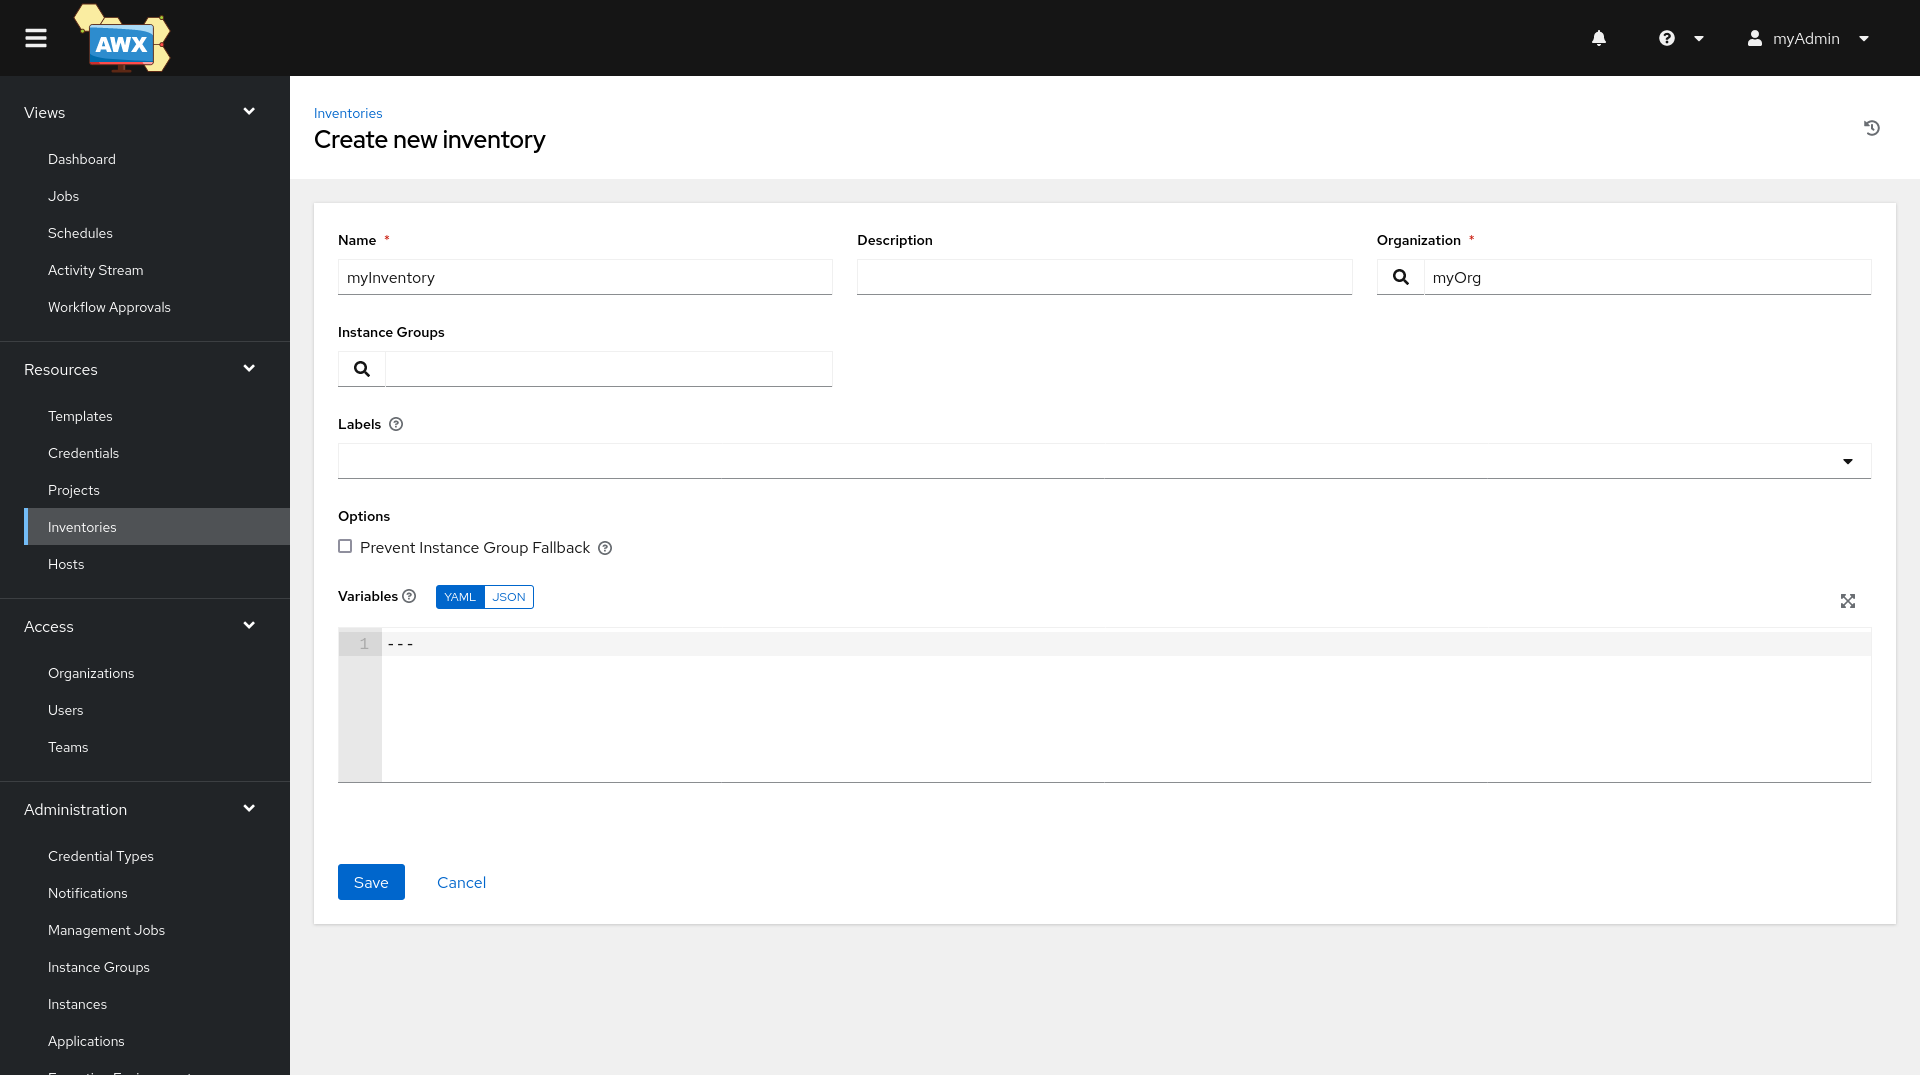
After hitting the Save button, we want to add a new source to this inventory. Open the Sources tab and the Add button.
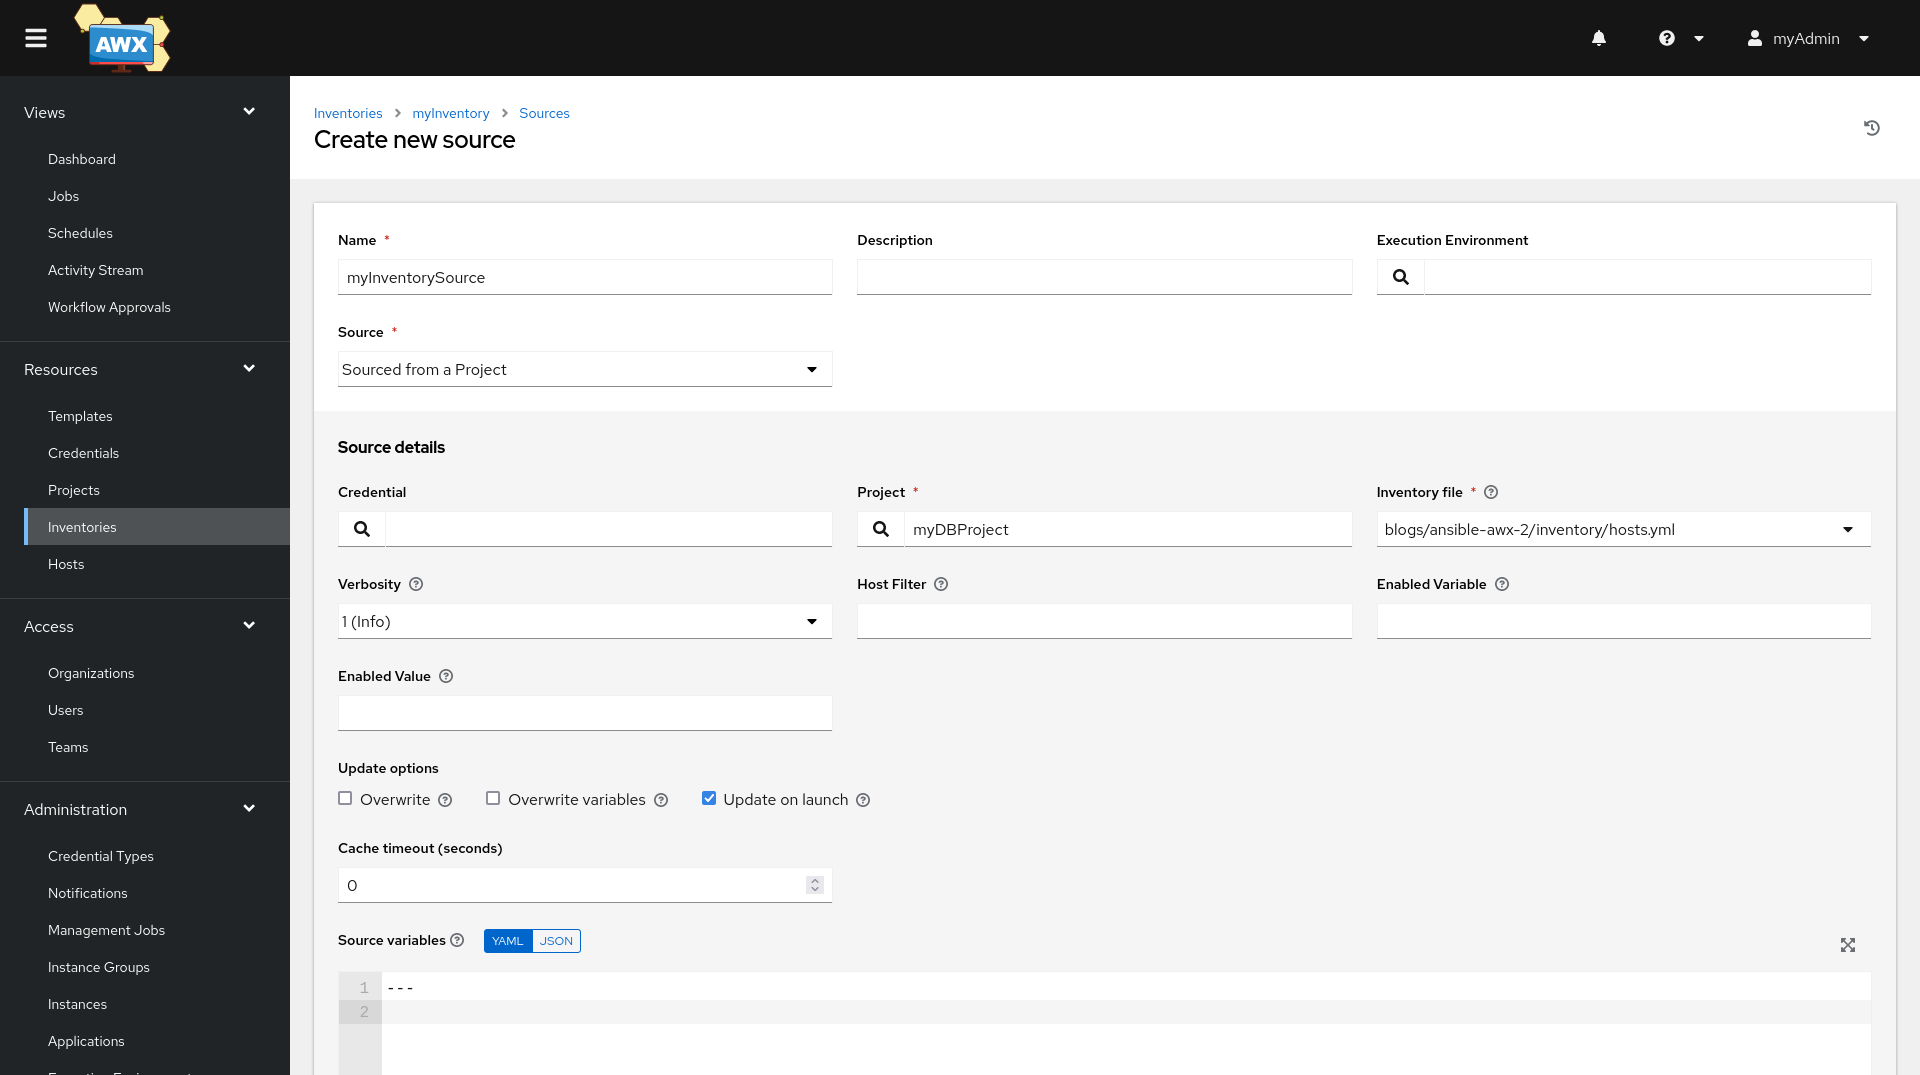
If your project and source are valid, you will end with a page like below.
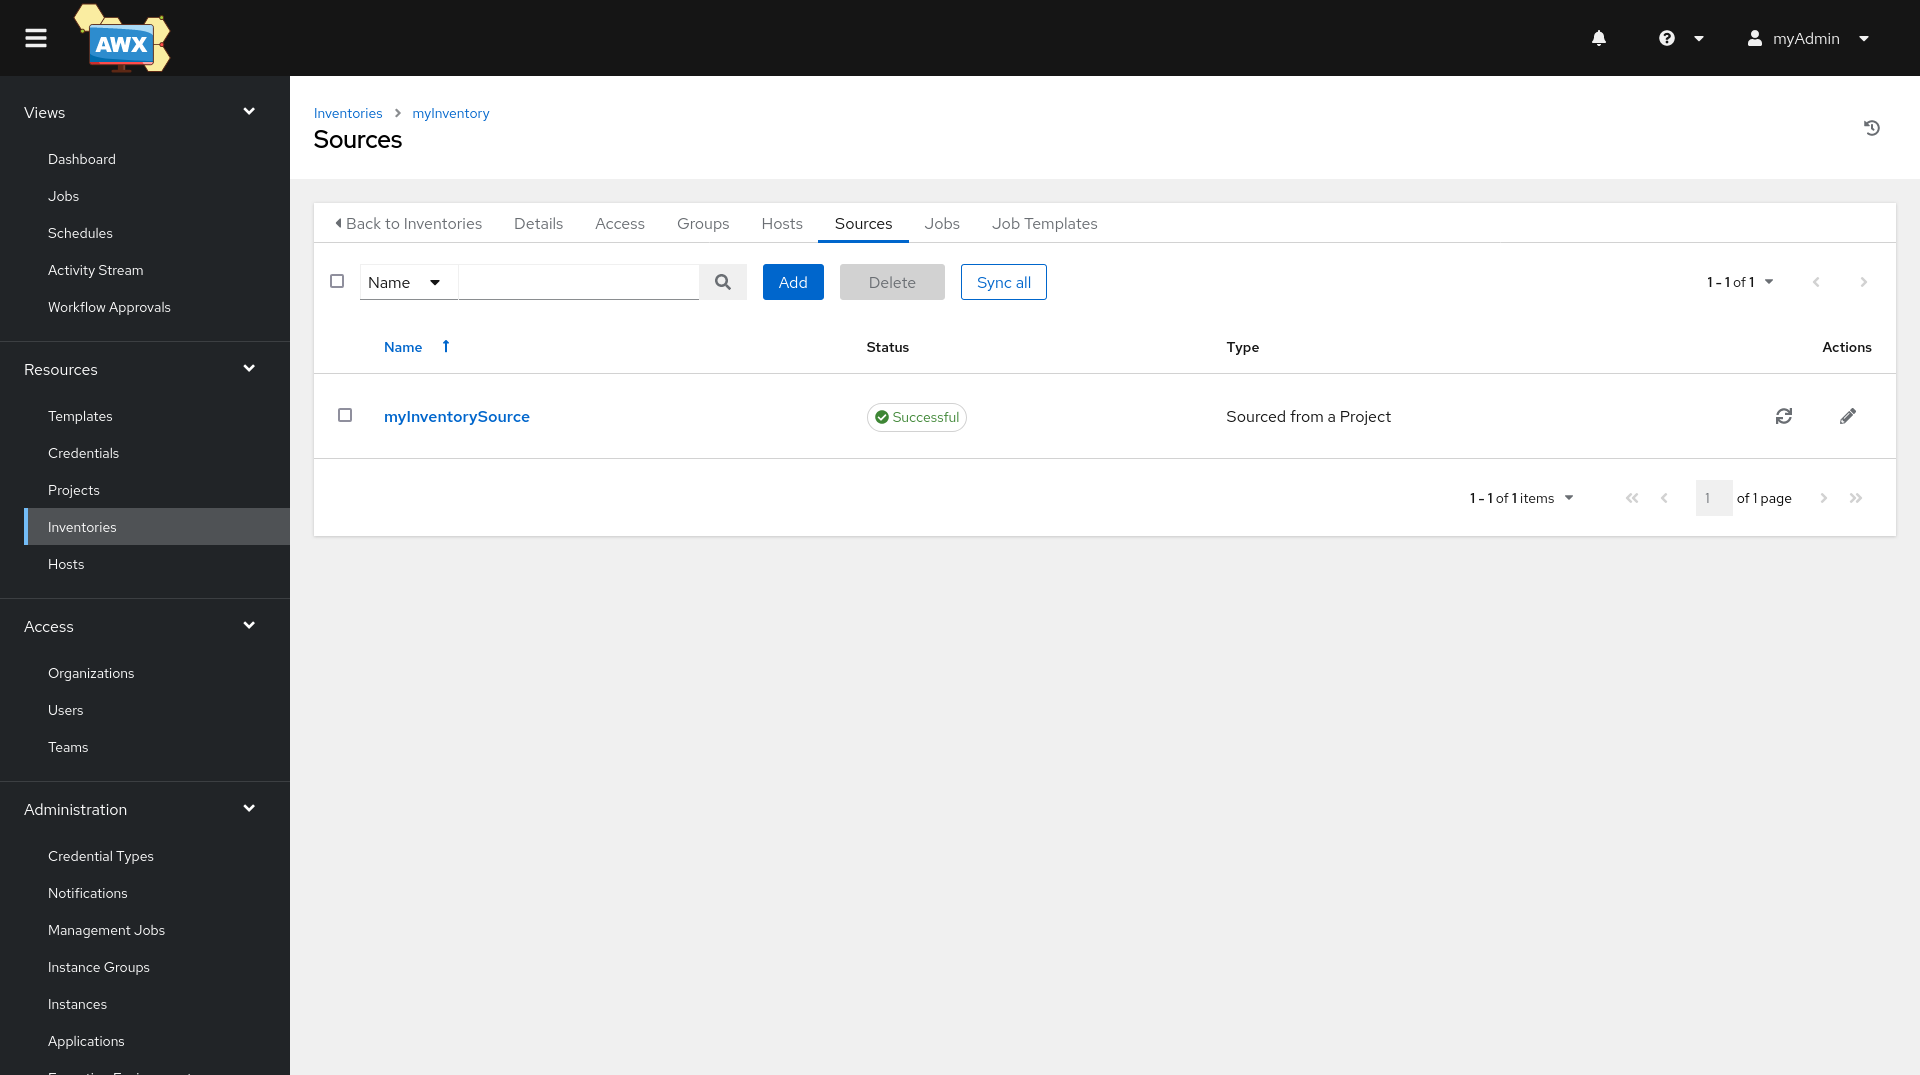
And that's it, we added our inventory.
Credentials
There is one more thing, we need to consider. Now we know what we want to do (Project), where we want to do it (inventory), but we lack the key to log in to our machines. This can be done with the Credentials tab.
We want to add a Machine password, which is basically the user we need to log in.
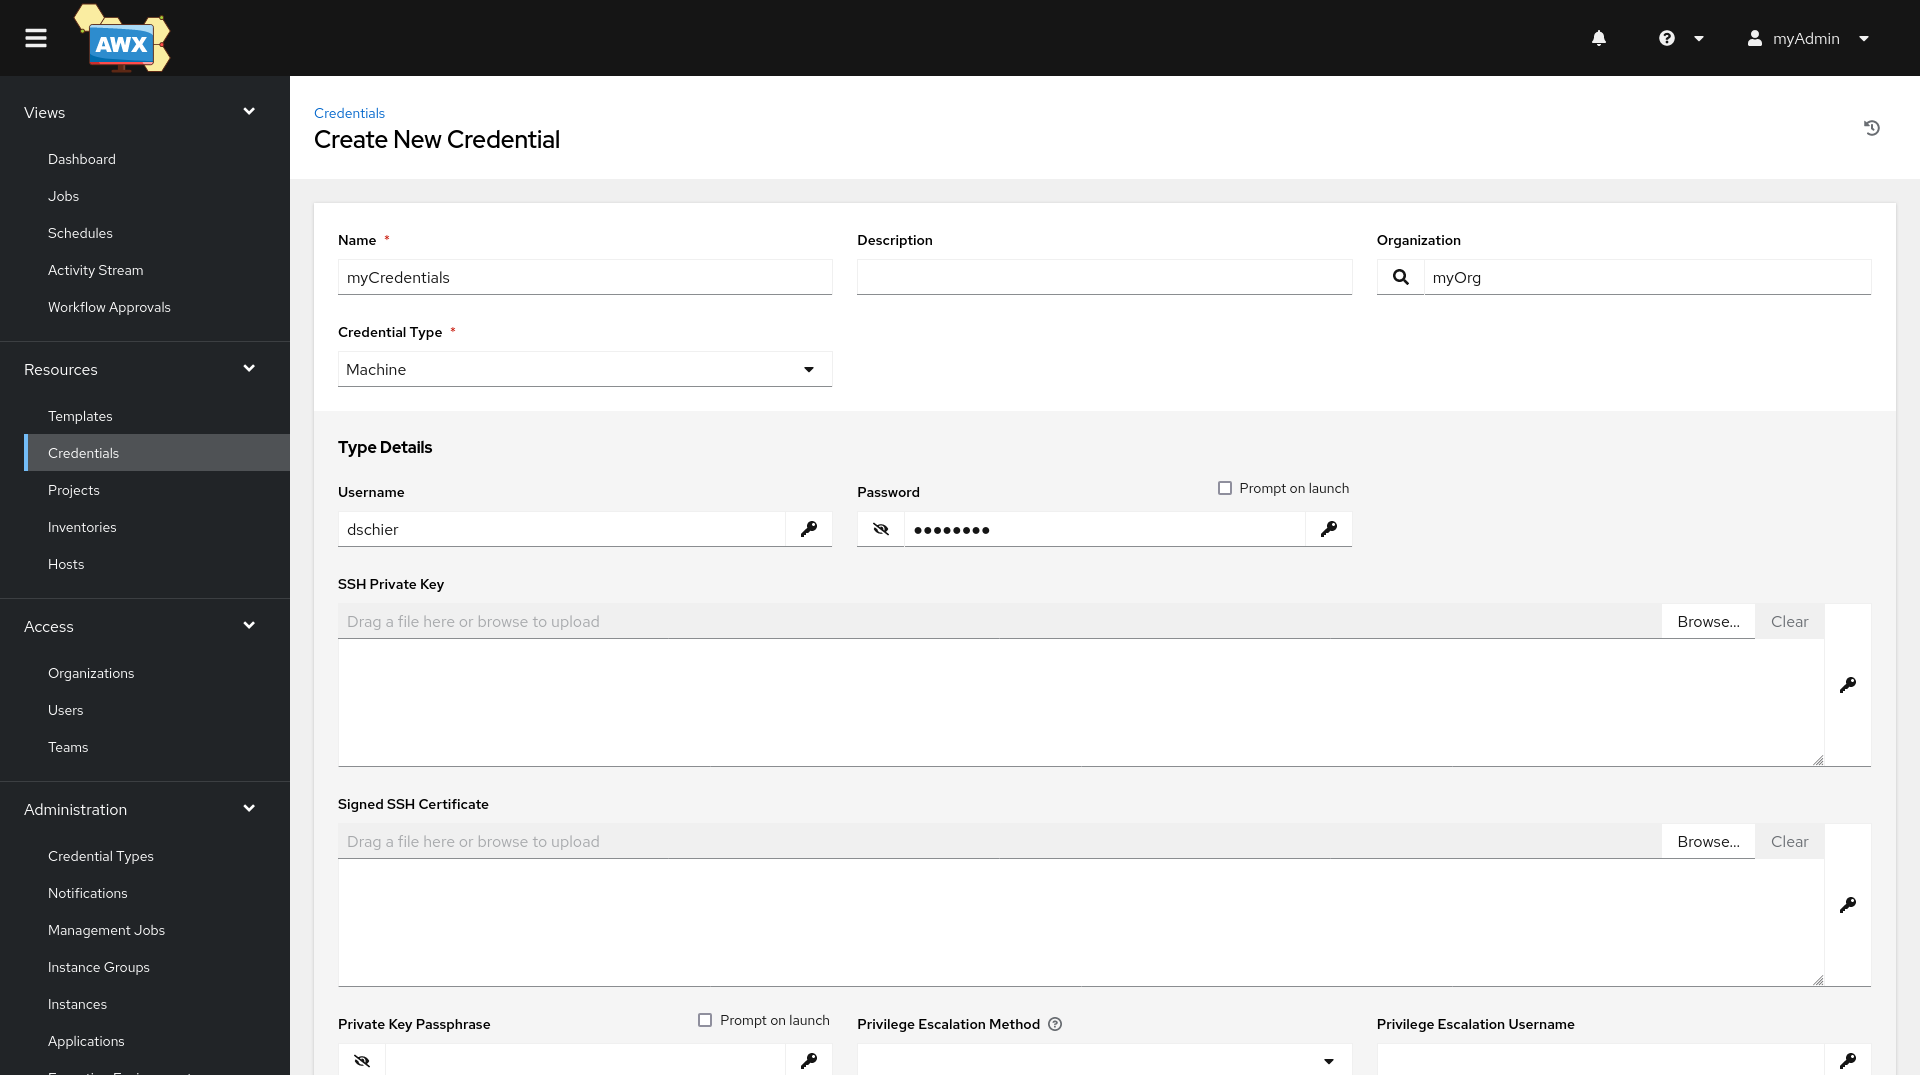
Please also take care to set the password for privilege escalation here.
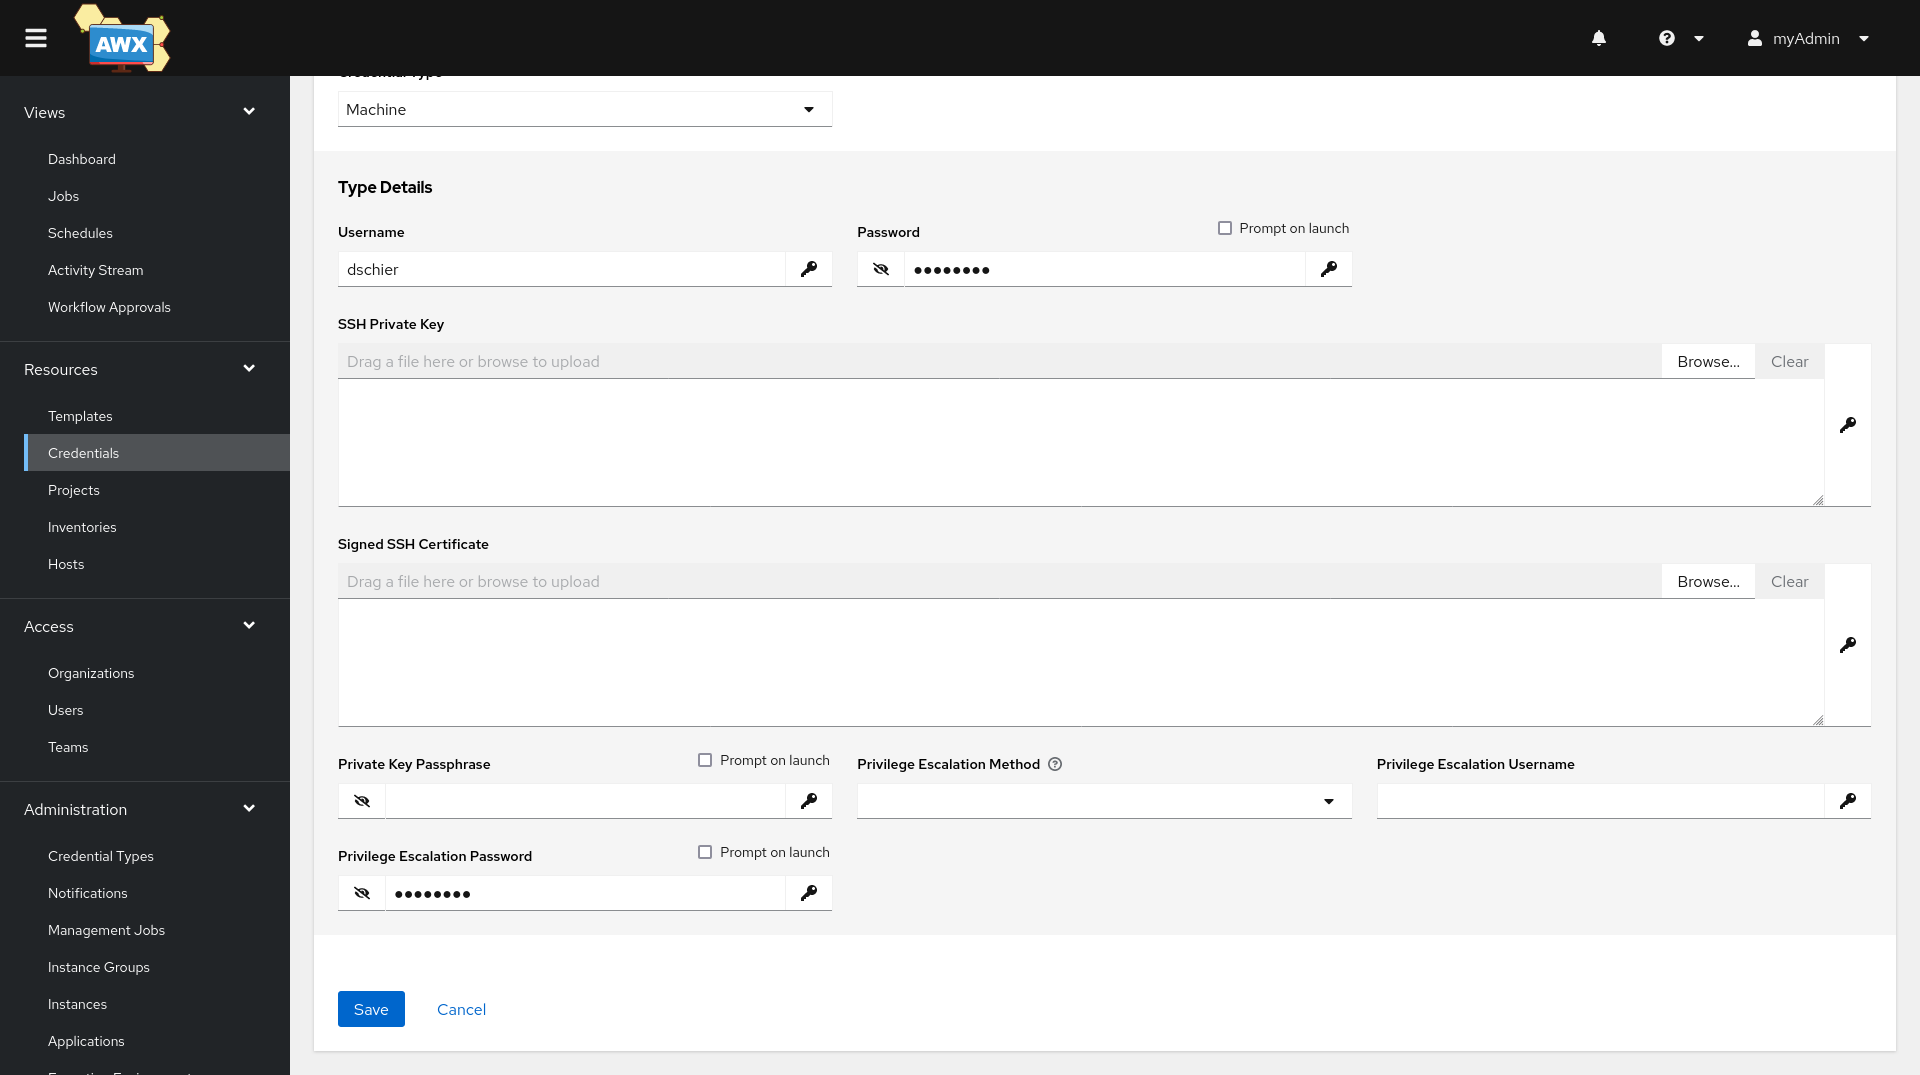
Hitting save will do the trick.
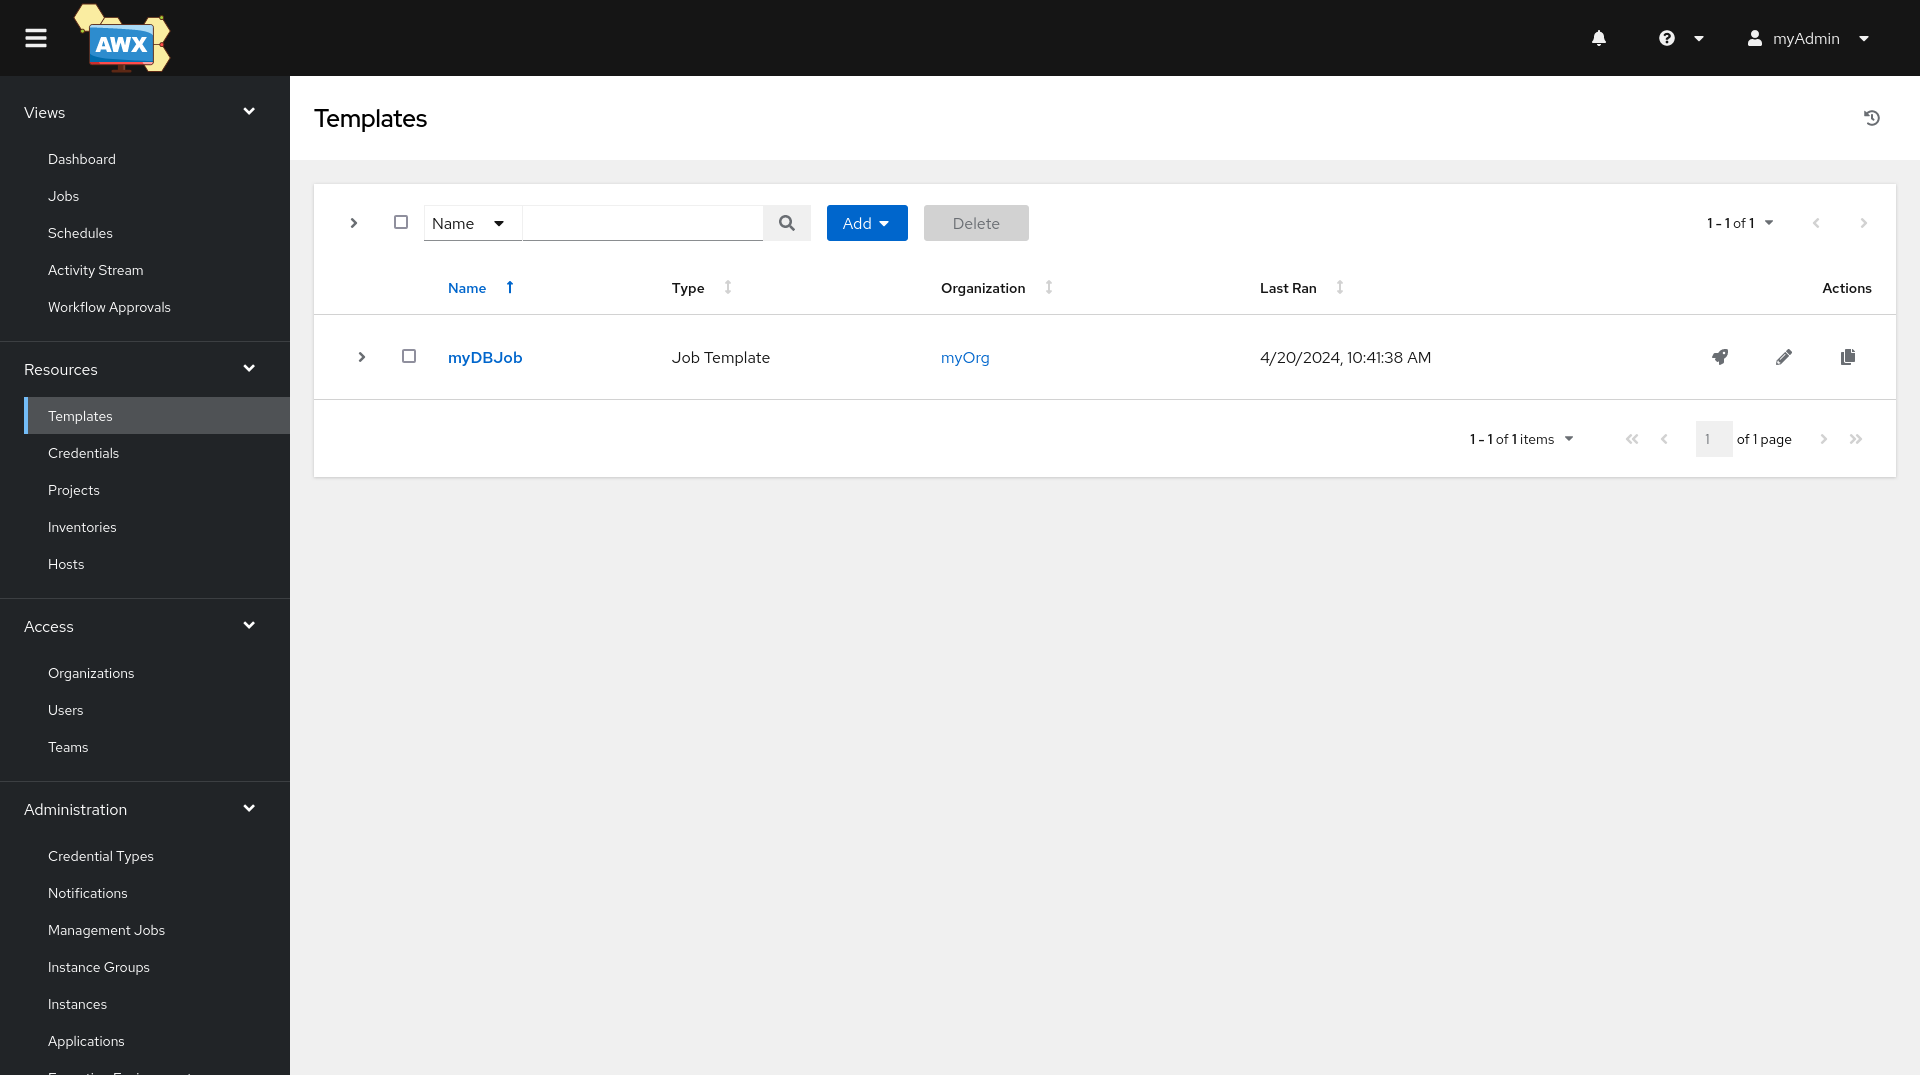
Templates
Finally, we can create a new template. A template is the object that combines all of the above, so we can trigger jobs from it. So, let's do it, and add a Job template.
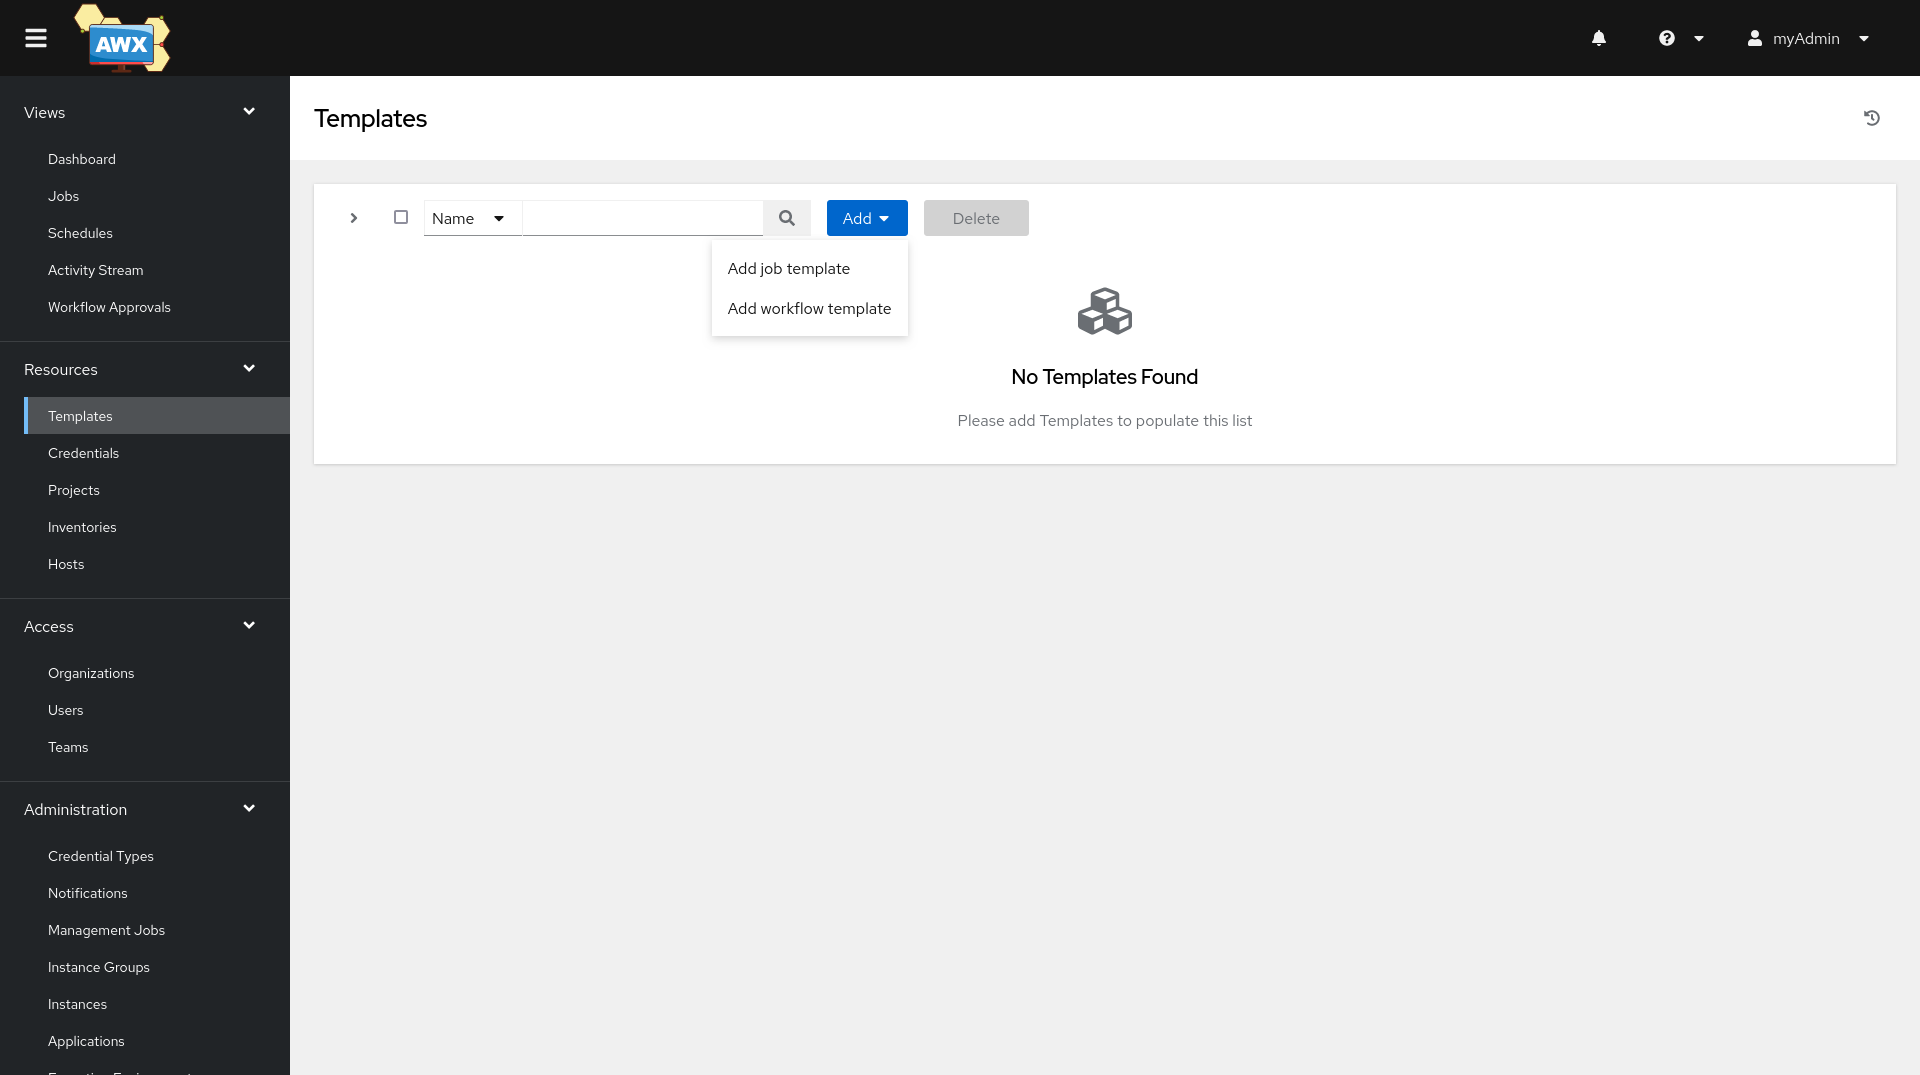
This is pretty easy, since we prepared everything beforehand.
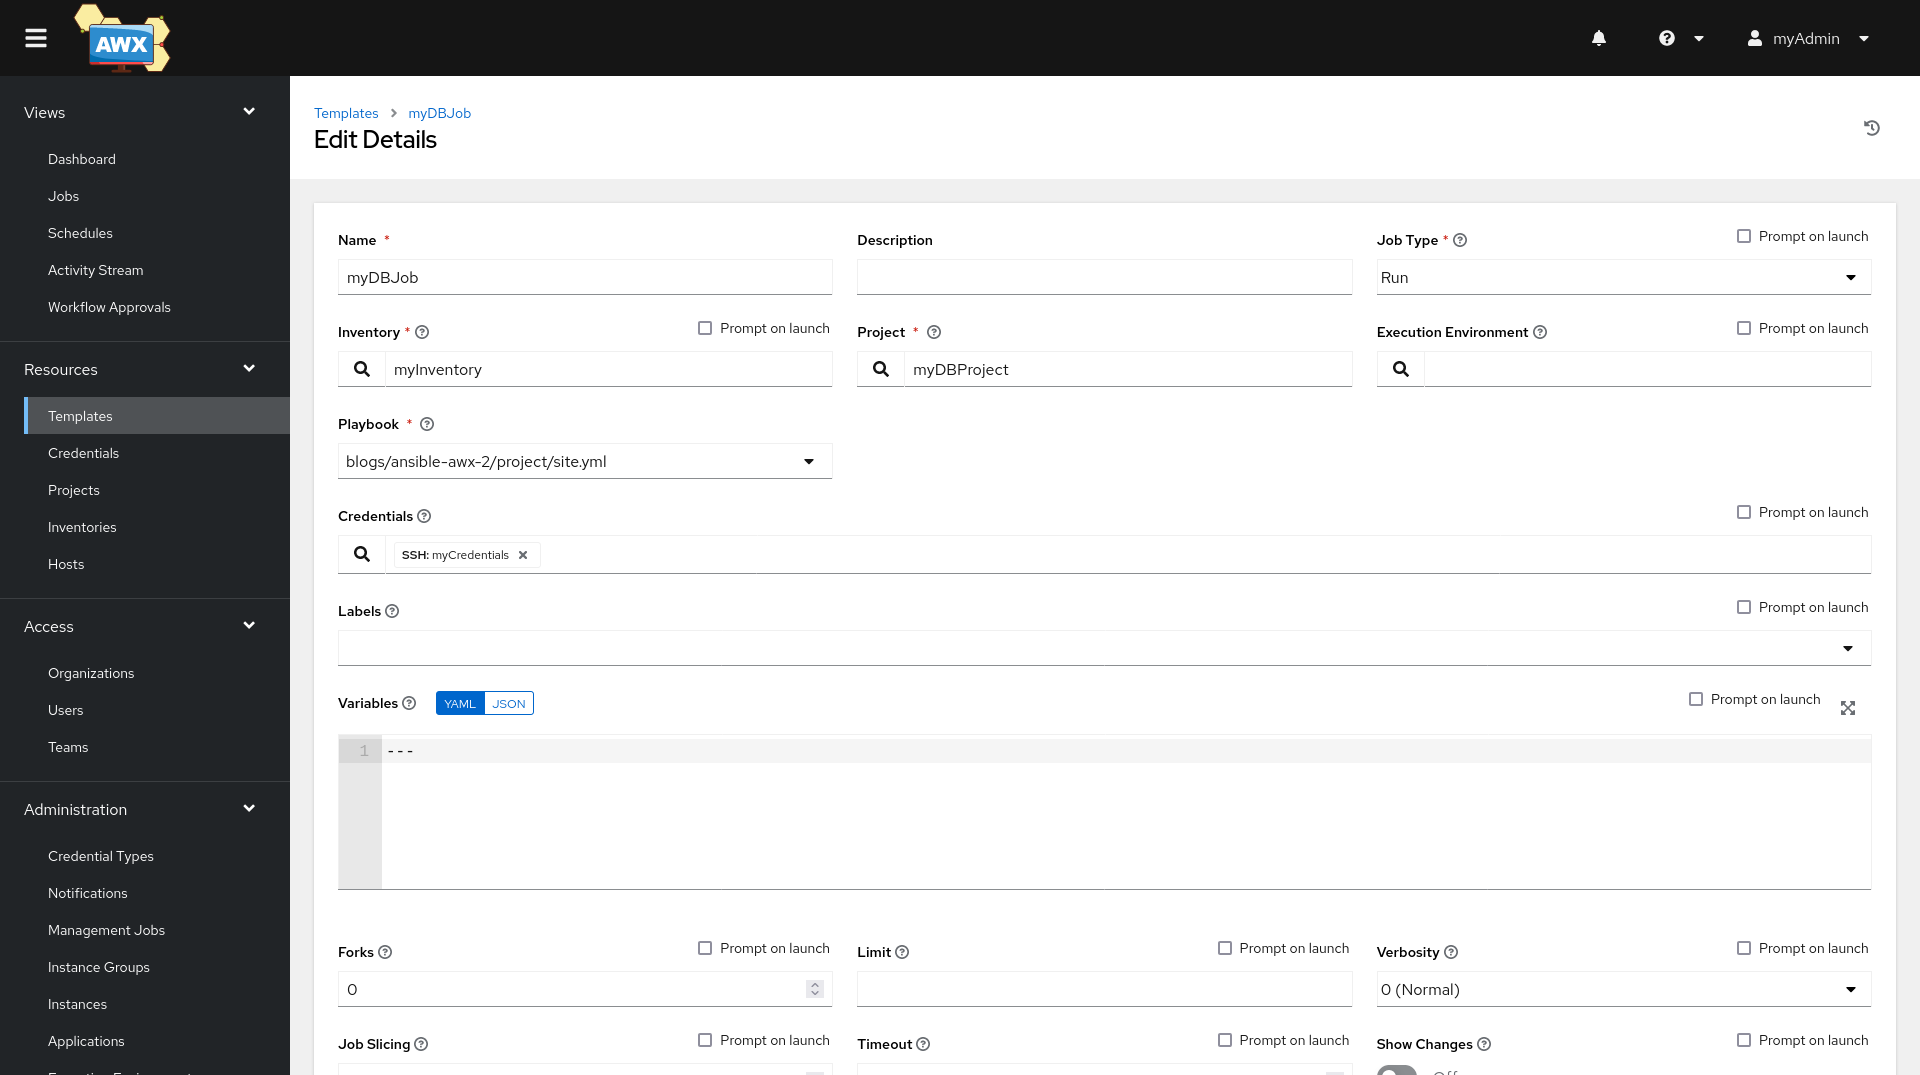
And, with hitting the Save button, we are ready to launch.
Running the job
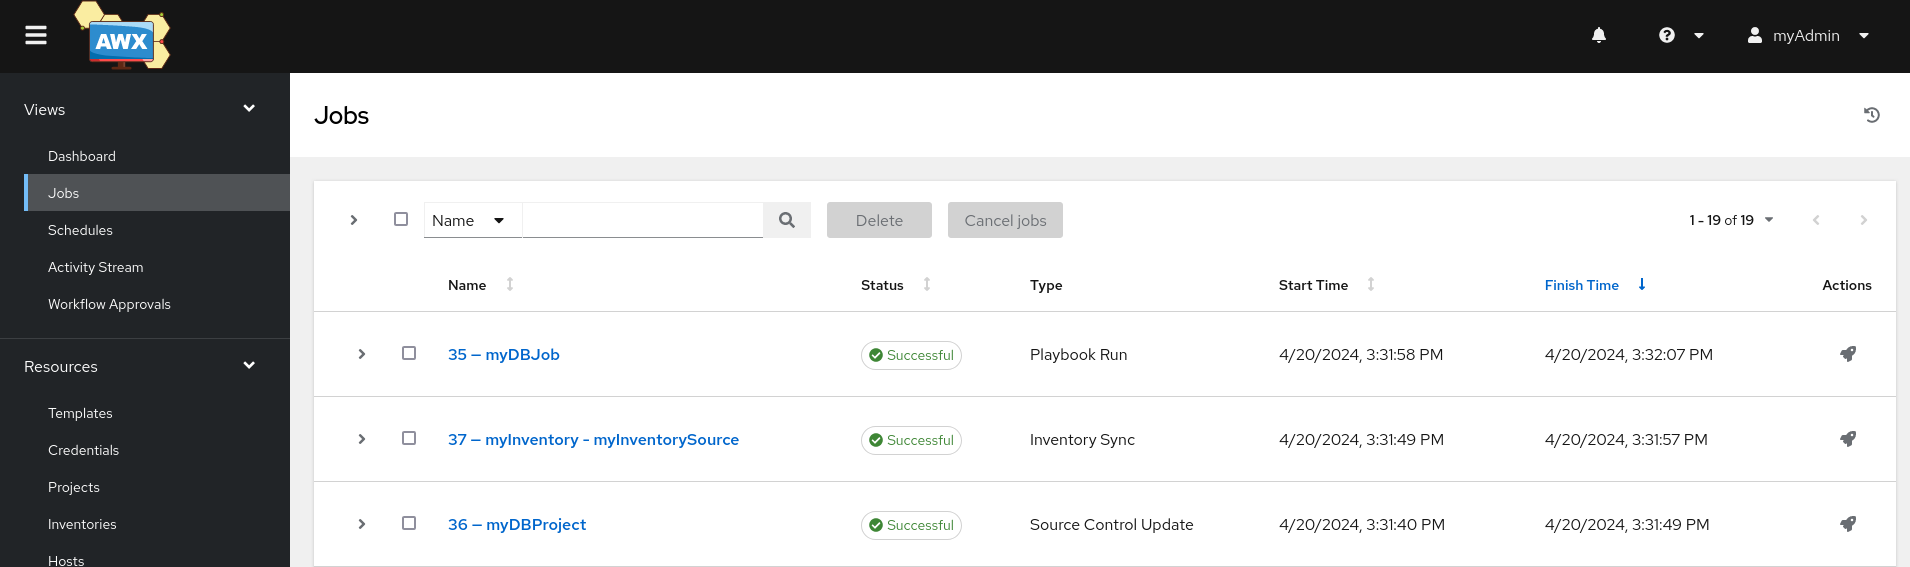
Finally, let's run a job. The small Rocket symbol allows you to launch a job and review the output.
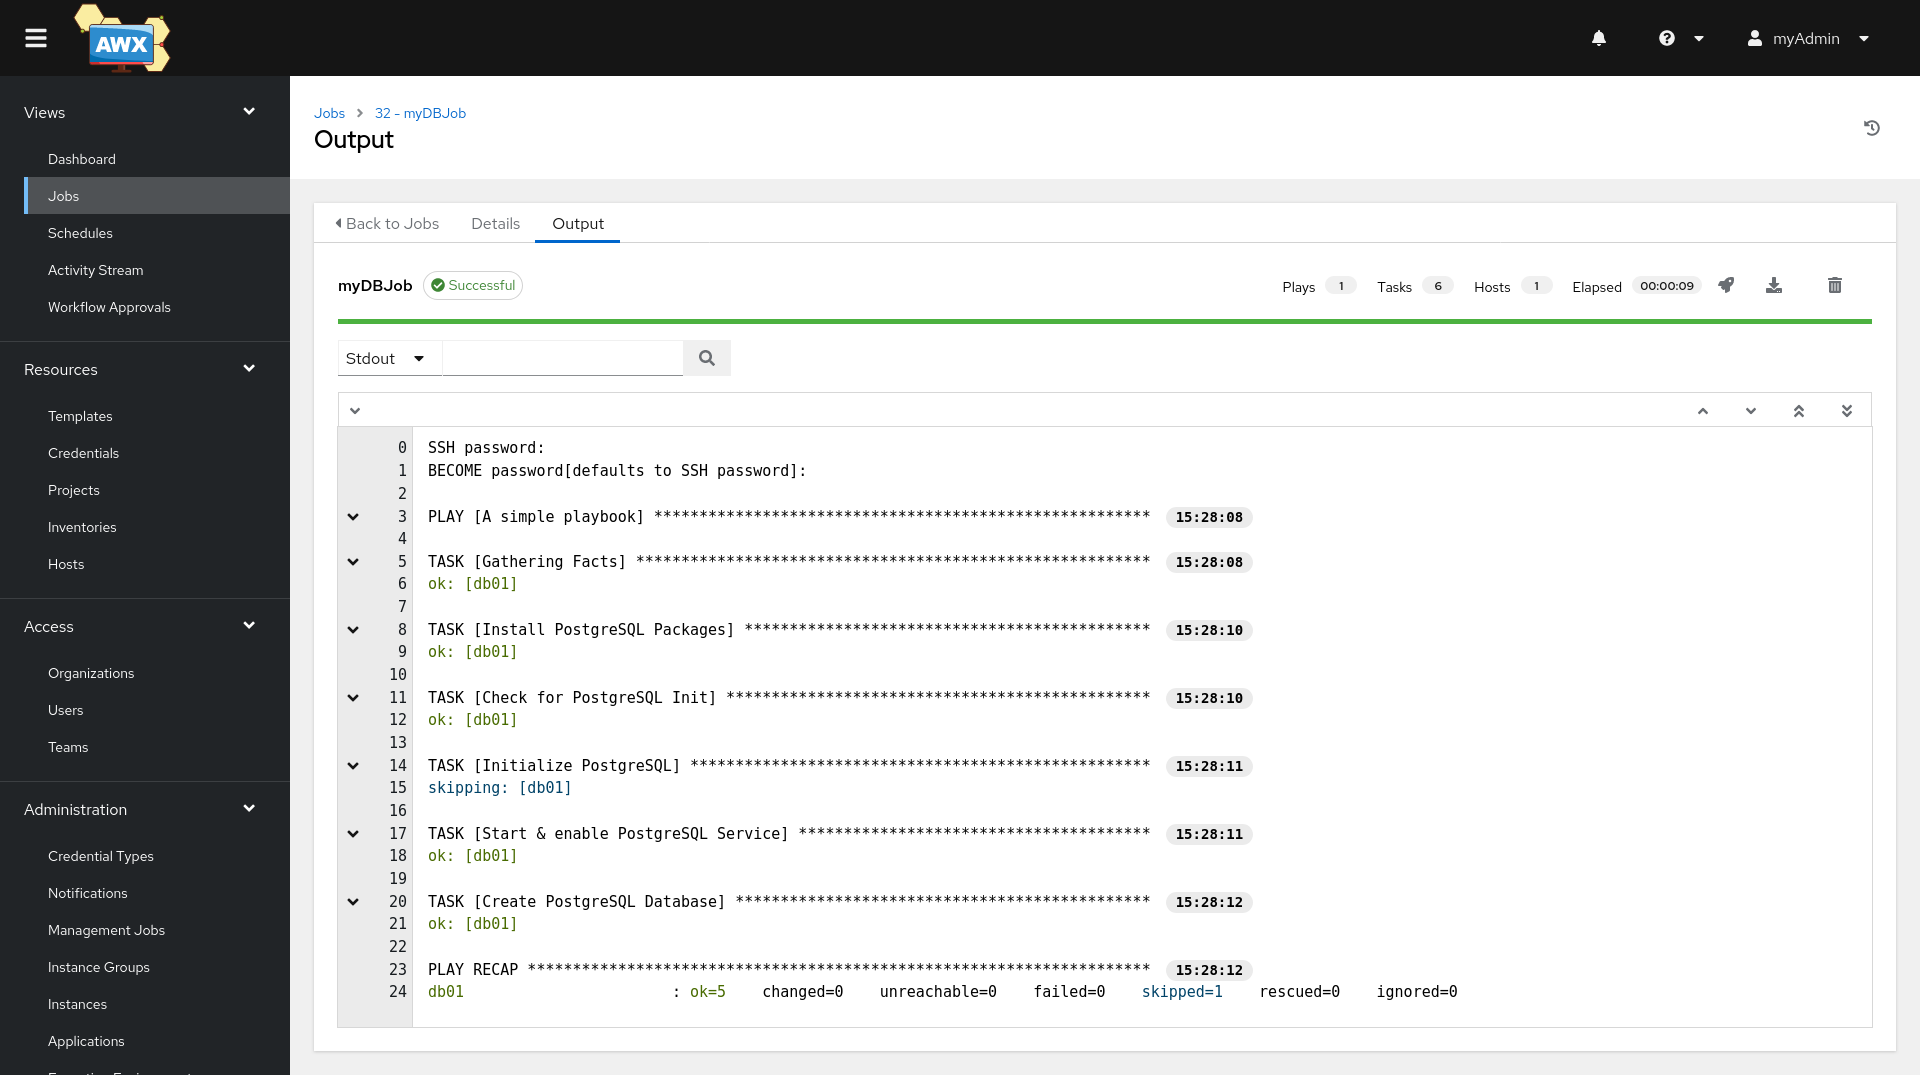
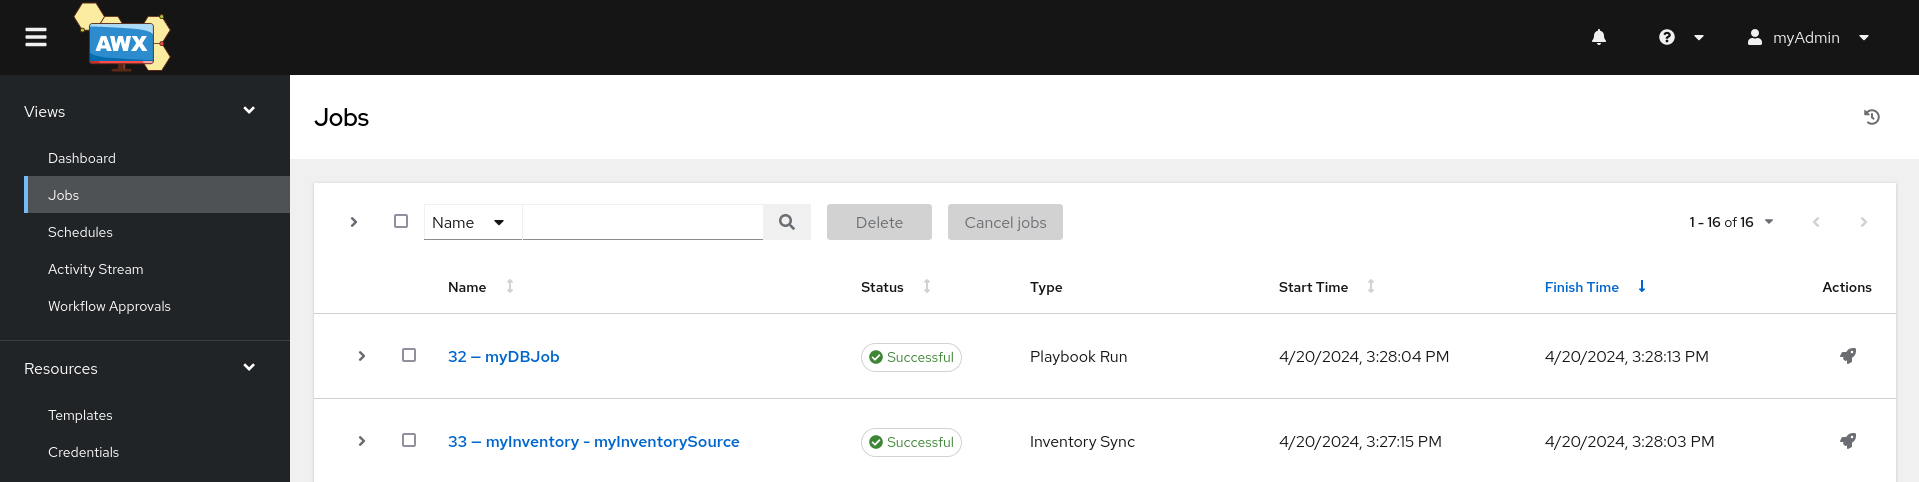
This looks fine. But wait, there is more. I hope you remember the project and inventory settings. In the inventory source, we opted to "sync on launch". If you go to the Jobs tab, you will also see our inventory sync running.
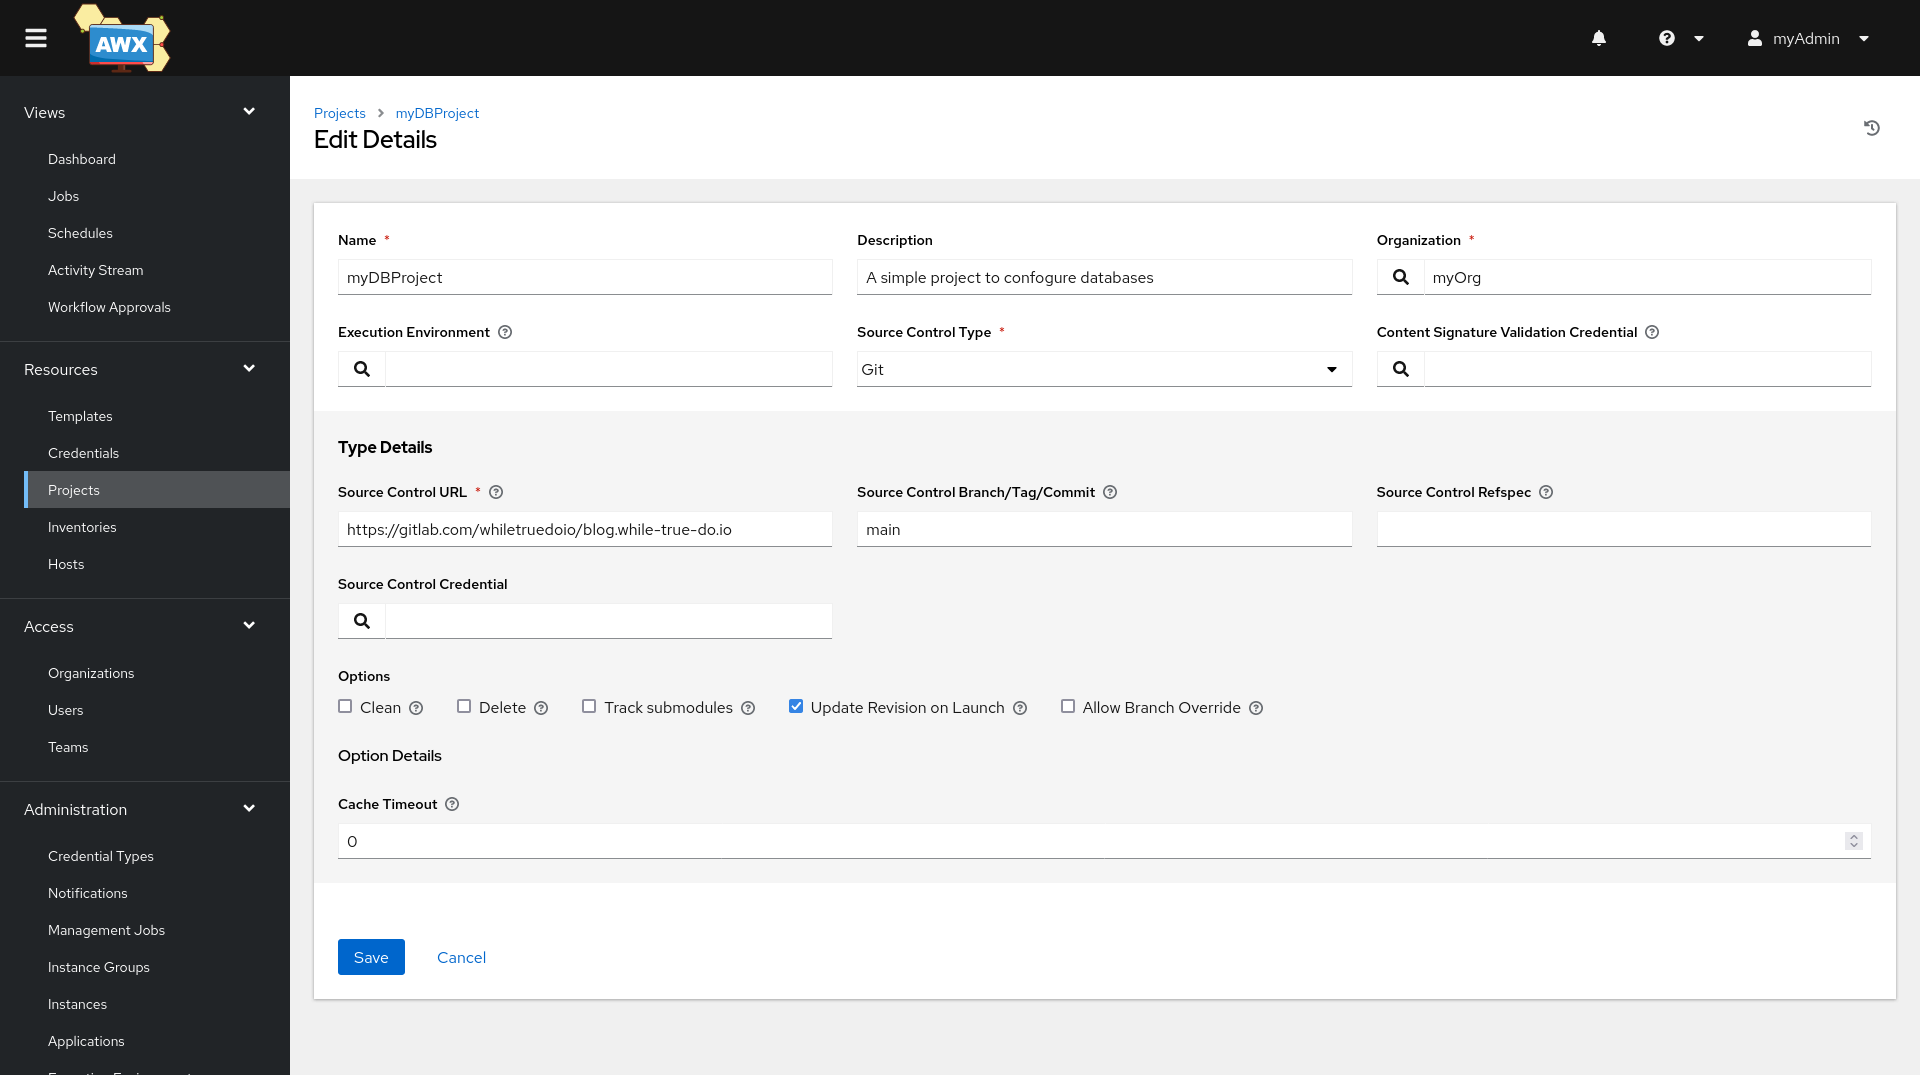
If you go back to our Project from previously and edit it, like shown below, this will also sync on every launch of a related Job.
And the result will look like this:
Controlling the cache timeout for these sync-jobs can reduce the runtime of jobs, but also allow fast development.
Well, and that's already it. You successfully created everything you needed for your first tasks in AWX.
More options
But, as you may have recognized, we haven't taken a look at all parts of AWX. Below, you can find additional inspiration for future steps.
Teams, permissions, and users
Do you remember the created users? Play around with them. Log in as the other users and review what can be done and what not. Maybe, you want to create teams and allocate additional permissions to your roles. Or, you can create a job that can only run with the credentials from the logged-in user.
Workflows, Surveys, Approvals, Notifications
We also created the most simple Job Template you can imagine. There are many more options. You can combine multiple templates to a workflow, but also add surveys to your Job templates, so users can add or change variables. You can also adjust a template, so it runs in check mode only.
Lastly, you might want to enforce approvals from an admin before a job can run. Or add notifications, so users and admins are enforced when something went wrong.
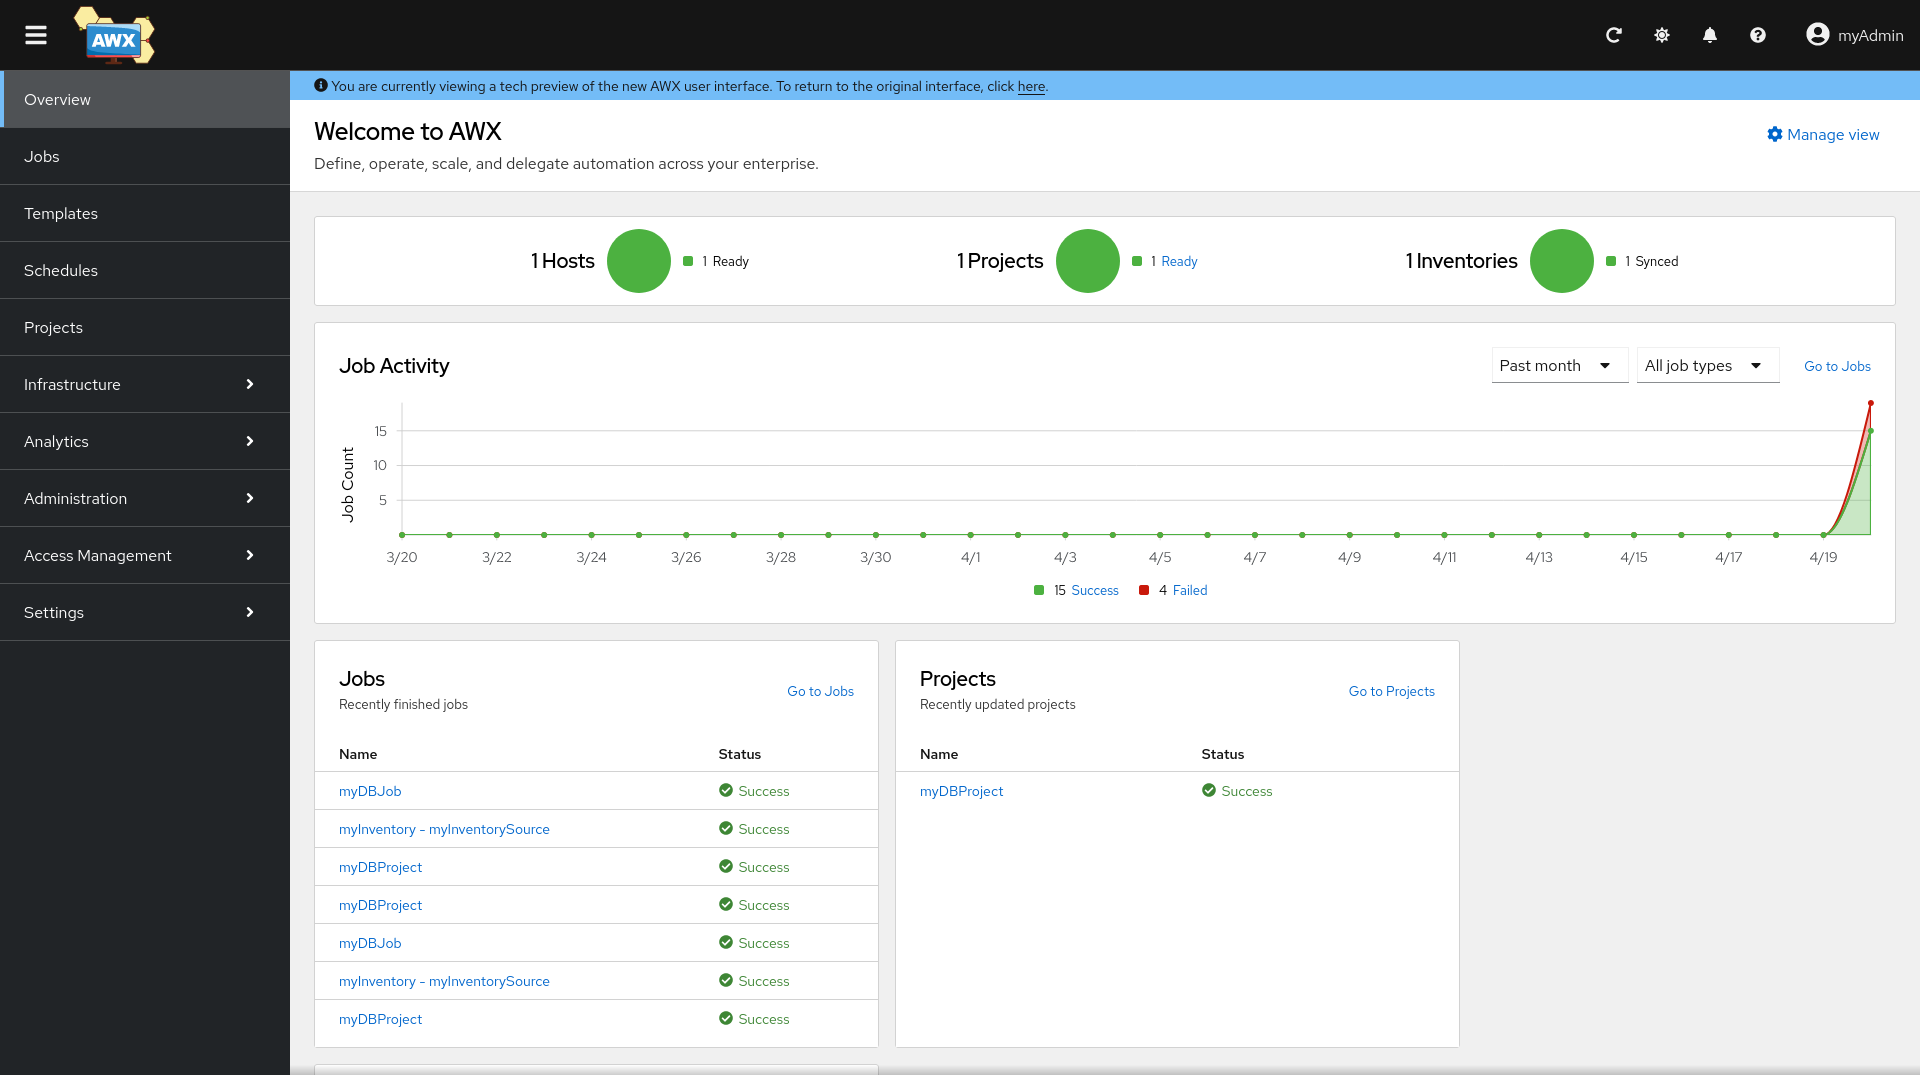
New interface
Oh, and you might have seen the small, blue bar at the top. AWX currently features a new user interface. You can enable it with a simple click.
Docs & Links
Finally, let's conclude with some additional links. Maybe you are just starting with Ansible or you want to know more?
Author


 ansible
Conclusion
Done? Me, too. Let's be honest, AWX can be complicated if you haven't worked with Ansible before or don't consult the documentation occasionally. Alternatives like Ansible Semaphore can be easier to understand, yet AWX is so powerful, it's hard to compare both.
But hey, how do you use Ansible? AWX, Semaphore, CLI or maybe even something else? Let me know how you like Ansible the most.