Podman - Configure VS Code for containers
When it comes to development of applications and container deployments, Docker is still considered the standard. VSCode provides several extensions to make your life with containers easier. But, the Docker and Dev Container extensions can be tuned to work with Podman, too.

When it comes to development of applications and container deployments, Docker is still considered the standard. VS Code provides several extensions to make your life with containers easier. Podman is often not officially supported by these extensions. But, most Docker extensions can be tuned to work with Podman, too.
This time, let me show you how this works and how I improved my VS Code integration on Fedora.
VS Code
VS Code or Visual Studio Code is a very popular Editor for development work. It is made by Microsoft as an Open Source project, but ships some proprietary snippets for telemetry, branding or the extension marketplace. But, there are also 100% Open Source builds of the popular editor available.

The Editor can be used on MacOS, Windows and Linux. It is also available via Flatpak, next to VSCodium or code-oss.
If you want, VS Code can replace lots of IDE functionality and can be enhanced with extensions from the marketplace. These extensions and the configurability makes it a nice choice for a free code editor. For me, it serves for containers, Ansible, web development and much more.
Podman
Podman is a container engine and command line utility to create, manage and deploy containers. It does not require a daemon, can run rootless containers and is included in all major releases of Fedora, CentOS, AlmaLinux and more.
I am using Podman to build images, for development and also to spin up some arbitrary Linux OS for testing. I have also written a couple of articles about Podman on my blog.
VS Code + Podman
Both tools can really improve the development workflow. You can manage your containers and images via VS Code and even work in a dedicated Dev Container.
But, VS Code extensions are not really taking care of Podman. Nevertheless, there are only some minor changes to make them work. Let's do these steps and make our life easier.
Prerequisites
As prerequisites, I am considering you have Podman and VS Code (rpm) installed on your system. Unfortunately, the Flatpak for VS Code is very limited, and the below guide does not work accordingly, for now.
You can install both on Fedora 36/37 by running these commands.
# Create repository file
$ sudo sh -c 'echo -e "[code]\nname=Visual Studio Code\nbaseurl=https://packages.microsoft.com/yumrepos/vscode\nenabled=1\ngpgcheck=1\ngpgkey=https://packages.microsoft.com/keys/microsoft.asc" > /etc/yum.repos.d/vscode.repo'

# Install via dnf
$ sudo dnf install podman code

# Install via rpm-ostree
$ rpm-ostree install podman code
Since the VS Code Docker extension wants to use the Docker API, we have to start and enable the Podman socket. This can be done for the user, rootless, you might say.
# Enable the Podman API for the current user
$ systemctl enable --now --user podman.socket
This socket has nothing to do with our running containers, but represents the API gateway to Podman.
Installation
Lastly, we need to install the extension to VS Code. We can do this via the VS Code UI or via command line as described below.
# Install vscode extensions
$ code --install-extension ms-azure.vscode-docker
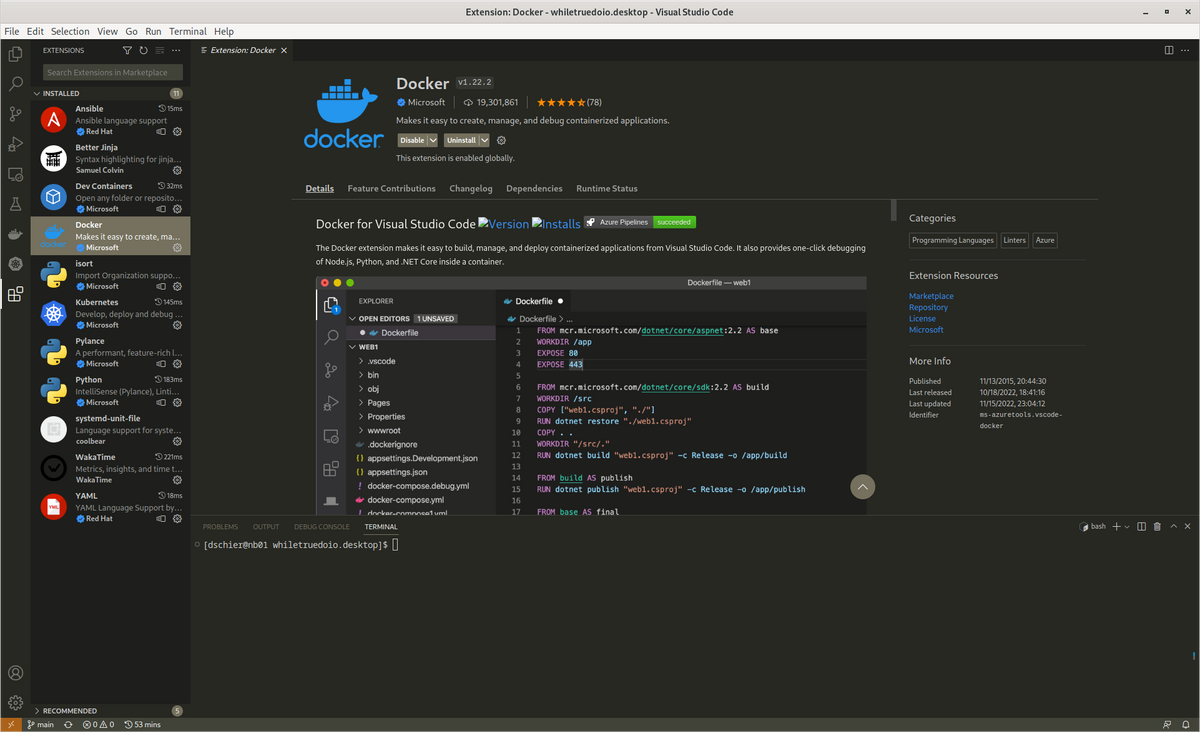
This will install the below linked extension to your VS Code.
Configuration
Now, we need to do some configuration to make the extension aware, that we want to use Podman.
For the graphical way, you need to open the extensions menu and find the installed extension. Hit the little cogwheel icon next to the Docker Extension and select Extension Settings. Next, you need to find the following entries.

Change the Docker: Host the value to unix:///run/user/1000/podman/podman.sock, whereas the 1000 represents your user id. If you are unsure if 1000 is correct, run id in a terminal and check the value for uid=.

Changing the Docker: Docker Path value to /usr/bin/podman is recommended, too.
Alternatively, hit Ctrl+Shift+P and search for Settings. Open the Preferences: Open User Settings (JSON) entry and add the below lines to your configuration.
{
    "docker.host": "unix:///run/user/1000/podman/podman.sock",
    "docker.dockerPath": "/usr/bin/podman"
}What to do now?
Well, start playing with the extensions. Build some images from a Dockerfile, work in a remote container and refine your HTML skills. Maybe search for additional, useful extensions like the one below.
You can also check out my existing Podman articles to find some inspiration what can be done with Podman.
Docs & Links
If you need some inspiration or additional documentation, here are some links you might find helpful.


Conclusion
For me, the command line still works best. I am so flexible by running podman run ... that I don't require a deep embedding in my Editor. Since VS Code provides a terminal out-of-the-box, there is also no need to run multiple applications.
Anyway, it is a nice addition and occasionally, I am happy that this little Docker icon is right there.
How are you doing your work? Are you more into extensions or the command line? Do you use VS Code or something else? Let me know! :)


