Fedora - Home Server (File, Calendar, Contact Sync)
In the last article, we created a Git server, running in Podman. The deployment was done with Ansible. The article before was about some central infrastructure. This time, let's see how we can have our own File, Calendar, and Contact sync. Yes, we will deploy Nextcloud!

In the last article, we created a Git server, running in Podman. The deployment was done with Ansible. The article before was about some central infrastructure. This time, let's see how we can have our own File, Calendar, and Contact sync. Yes, we will deploy Nextcloud!
Intro
This series is explaining how we are setting up a home server from scratch. You can find links to the previous articles below.
- Intro & Concept
- Hardware & OS
- Automation
- Management
- Virtualization
- Container
- Time, DHCP, DNS Server
- Git Server
- File, Calendar, Contact Sync
- Application Dashboard
Let's continue the series and deploy a Nextcloud server.
Nextcloud
Nextcloud is an awesome Open Source software to synchronize files, calendars, and contacts. But it can do even more. With applications like Deck, Mail or Tasks, you can extend it to your personal hub. It is even capable to replace many services known from Google or Apple.
In the past, I have already written a couple of articles about Nextcloud, which might be interesting for you.
Nextcloud with Podman and Ansible
Like in the last articles, we will Ansible to automate the deployment. Podman will be used for our container workload.
I was also asked why we are using Podman with systemd, so let me explain this. Podman is basically made with systemd in mind. Tools like podman generate systemd are massively helpful to get an idea how a container service can look like. Systemd will take care of restarting a crashed container, even without a Podman service. Furthermore, you will get an auto-update feature on top, which is only available for systemd-managed containers.
Let's make it work!
The code
The below example is very similar to the one from our last article. With a couple of tasks, we will download the needed images, create systemd units and enable these.
As always, we will need a small playbook. Let's create it.
---
# ansible/playbooks/deploy_nextcloud_container.yml

- name: "Deploy nextcloud Container"
  hosts: "all"

  vars:
    nextcloud_publish_http: "8080"

    nextcloud_net_name: "nextcloud"

    ## Database Management

    nextcloud_db_image_name: "docker.io/library/mariadb"
    nextcloud_db_image_tag: "10"
    nextcloud_db_image_auto_update: true

    nextcloud_db_name: "nextcloud"
    nextcloud_db_user: "nextcloud"
    nextcloud_db_pass: "password"

    ## Application Management

    nextcloud_app_image_name: "docker.io/library/nextcloud"
    nextcloud_app_image_tag: "25"
    nextcloud_app_image_auto_update: true

    nextcloud_app_user: "nextcloud"
    nextcloud_app_pass: "password"

  tasks:

    # Network Management

    - name: "Create nextcloud Podman Network"
      containers.podman.podman_network:
        name: "{{ nextcloud_net_name }}"
        state: "present"
      become: true

    ## Database Management

    - name: "Pull nextcloud-db Image"
      containers.podman.podman_image:
        name: "{{ nextcloud_db_image_name }}"
        tag: "{{ nextcloud_db_image_tag }}"
        state: "present"
      become: true

    - name: "Create nextcloud-db Service File"
      ansible.builtin.template:
        src: "container-nextcloud-db.service.j2"
        dest: "/etc/systemd/system/container-nextcloud-db.service"
        owner: "root"
        group: "root"
        mode: 0644
      become: true

    - name: "Start & Enable nextcloud-db Service"
      ansible.builtin.systemd:
        name: "container-nextcloud-db.service"
        state: "started"
        enabled: true
        daemon_reload: true
      become: true

    ## Application Management

    - name: "Pull nextcloud-app Image"
      containers.podman.podman_image:
        name: "{{ nextcloud_app_image_name }}"
        tag: "{{ nextcloud_app_image_tag }}"
        state: "present"
      become: true

    - name: "Create nextcloud-app Service File"
      ansible.builtin.template:
        src: "container-nextcloud-app.service.j2"
        dest: "/etc/systemd/system/container-nextcloud-app.service"
        owner: "root"
        group: "root"
        mode: 0644
      become: true

    - name: "Start & Enable nextcloud-app Service"
      ansible.builtin.systemd:
        name: "container-nextcloud-app.service"
        state: "started"
        enabled: true
        daemon_reload: true
      become: true
...Like the previous deployment for the Gitea server, we also need to create the necessary template files. One is needed for the application:
[Unit]
Description=Podman container-nextcloud-app.service
Documentation=man:podman-generate-systemd(1)
Wants=network-online.target
After=network-online.target
RequiresMountsFor=%t/containers

[Service]
Environment=PODMAN_SYSTEMD_UNIT=%n
Restart=on-failure
TimeoutStopSec=70
Type=notify
NotifyAccess=all

ExecStartPre=/bin/rm -f %t/%n.ctr-id

ExecStart=/usr/bin/podman run \
	--cidfile=%t/%n.ctr-id \
	--cgroups=no-conmon \
	--rm \
	--sdnotify=conmon \
	--replace \
	--publish {{ nextcloud_publish_http }}:80/tcp \
	--detach \
	--tty \
	--label "io.containers.autoupdate=registry" \
	--volume nextcloud-app:/var/www/html/:Z \
	--network={{ nextcloud_net_name }} \
	--env MYSQL_DATABASE={{ nextcloud_db_name }} \
	--env MYSQL_USER={{ nextcloud_db_user }} \
	--env MYSQL_PASSWORD={{ nextcloud_db_pass }} \
	--env MYSQL_HOST=nextcloud-db \
	--env NEXTCLOUD_ADMIN_USER={{ nextcloud_app_user }} \
	--env NEXTCLOUD_ADMIN_PASSWORD={{ nextcloud_app_pass }} \
	--name=nextcloud-app \
	{{ nextcloud_app_image_name }}:{{ nextcloud_app_image_tag }}

ExecStop=/usr/bin/podman stop \
	--ignore \
	--cidfile=%t/%n.ctr-id

ExecStopPost=/usr/bin/podman rm \
	--force \
	--ignore \
	--cidfile=%t/%n.ctr-id

[Install]
WantedBy=default.target
And one is needed for the database deployment:
[Unit]
Description=Podman container-nextcloud-db.service
Documentation=man:podman-generate-systemd(1)
Wants=network-online.target
After=network-online.target
RequiresMountsFor=%t/containers

[Service]
Environment=PODMAN_SYSTEMD_UNIT=%n
Restart=on-failure
TimeoutStopSec=70
Type=notify
NotifyAccess=all

ExecStartPre=/bin/rm -f %t/%n.ctr-id

ExecStart=/usr/bin/podman run \
	--cidfile=%t/%n.ctr-id \
	--cgroups=no-conmon \
	--rm \
	--sdnotify=conmon \
	--replace \
	--detach \
	--tty \
	--label "io.containers.autoupdate=registry" \
	--volume nextcloud-db:/var/lib/mysql/:Z \
	--network=nextcloud \
	--env MARIADB_RANDOM_ROOT_PASSWORD=true \
	--env MARIADB_DATABASE={{ nextcloud_db_name }} \
	--env MARIADB_USER={{ nextcloud_db_user }} \
	--env MARIADB_PASSWORD={{ nextcloud_db_pass }} \
	--name=nextcloud-db \
	{{ nextcloud_db_image_name }}:{{ nextcloud_db_image_tag }}

ExecStop=/usr/bin/podman stop \
	--ignore \
	--cidfile=%t/%n.ctr-id

ExecStopPost=/usr/bin/podman rm \
	--force --ignore \
	--cidfile=%t/%n.ctr-id

[Install]
WantedBy=default.target
And that's already it.
In case you don't have a requirements.yml file, you should create one with the below content.
---
# ansible/requirements.yml

collections:

  - name: "ansible.posix"
  - name: "community.general"
  - name: "community.libvirt"
  - name: "containers.podman"
...I strongly recommend adjusting the passwords and ports in the above playbook to your liking.
And, as always, you can find the complete code in the Fedora Homeserver repository.
 dschier-wtd
How it works
The playbook and templates above will create a Podman network, where the containers will be connected to each other.
Also, two systemd services will be created, that will run your containers. Using systemd has the advantage, that your Nextcloud instance can be used like any regular service, and you can use the auto-update feature of Podman.
You can also see, that the playbook will download the images. This step was needed, since systemd itself has an internal timeout. If the download of an image takes too long, the container may be restarted, which can lead to interesting behavior. Downloading the image once avoids these issues.
This time, I also implemented a handler, that will take care of configuration changes to our deployment.
Run the playbook
Running the playbook works exactly the same way as in our previous deployments. First, you need to install the required collections:
# Install requirements
$ ansible-galaxy collection install -r ansible/requirements.yml
Afterward, you can run the playbook.
# Run the playbook
$ ansible-playbook -i IP_ADDRESS, -u USER -k -K ansible/playbooks/deploy_nextcloud_container.yml
After the run, you should be able to check the deployments with the below commands.
# Check if the db service is running
$ sudo systemctl status container-nextcloud-db.service

# Check if the app service is running
$ sudo systemctl status container-nextcloud-app.service

# Check if the containers are running
$ sudo podman ps
If everything works, let's do some post deployment steps.
Post deployment steps
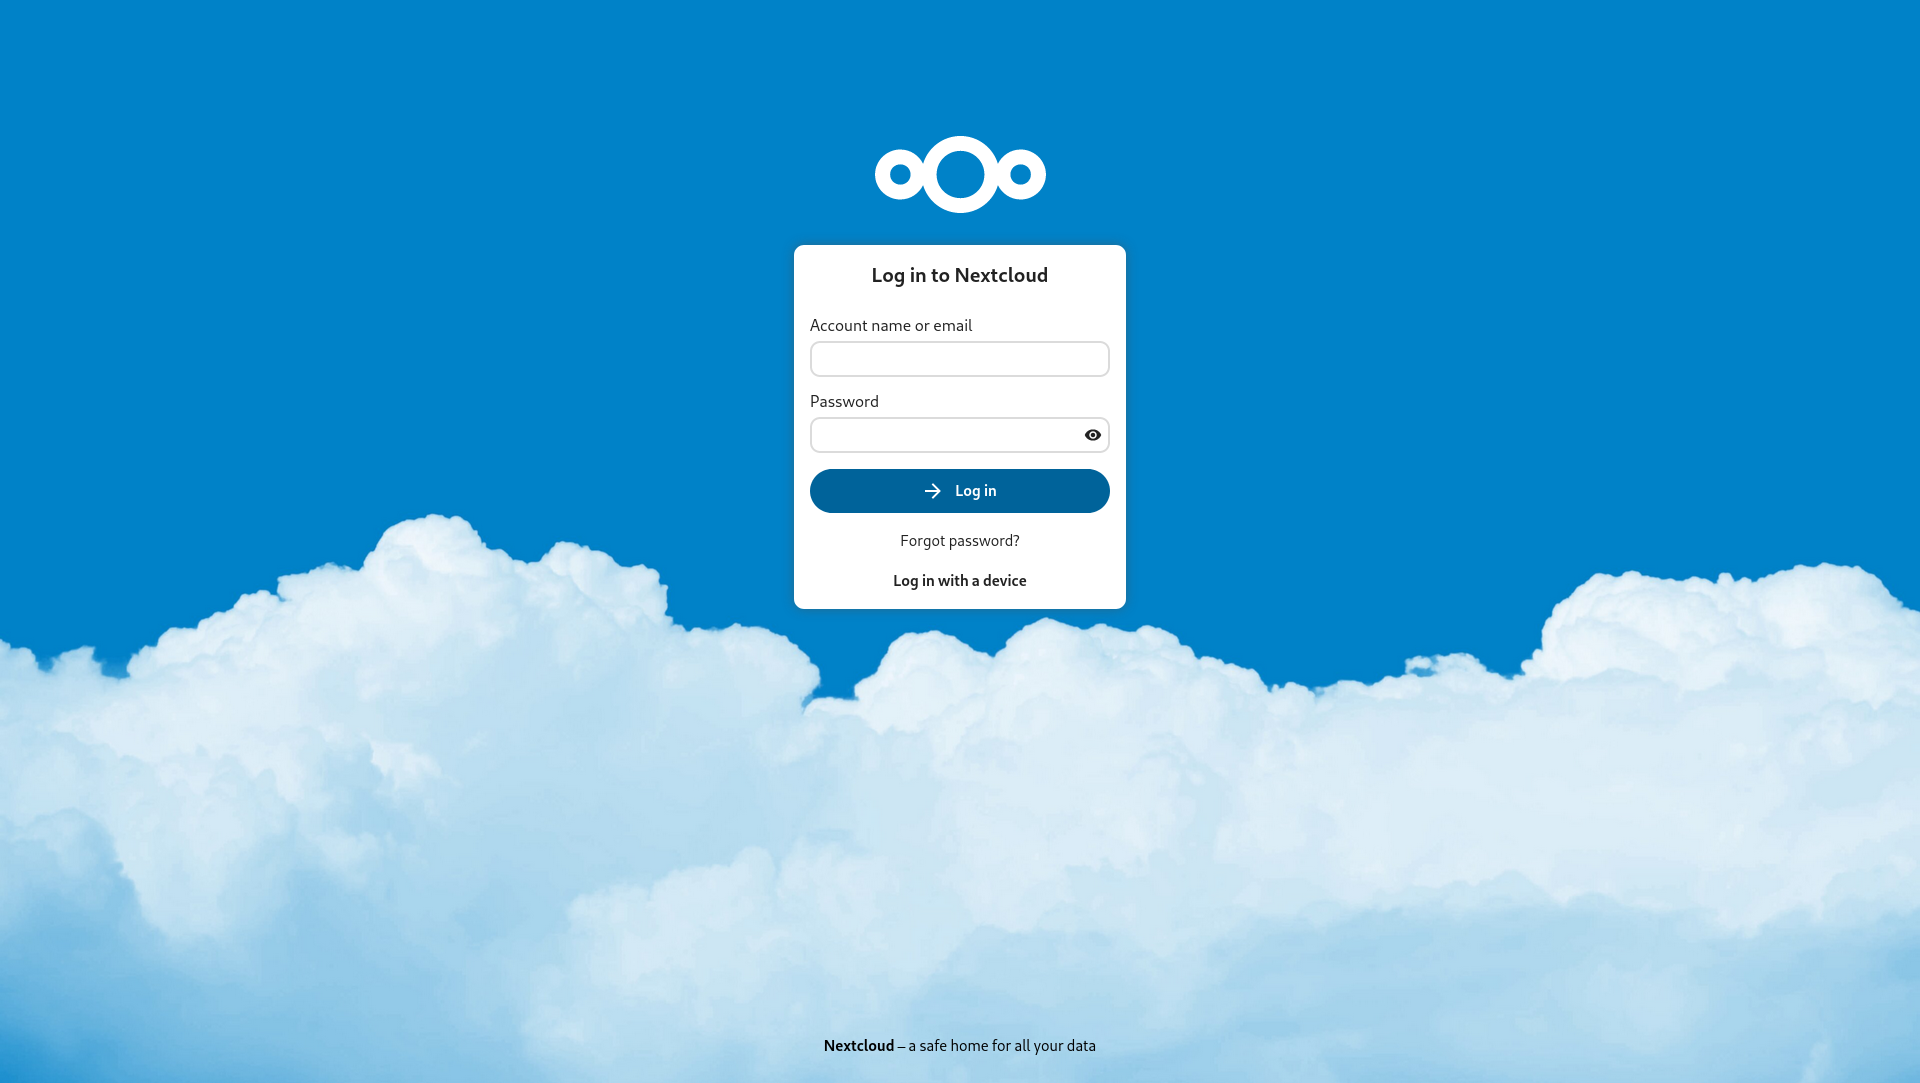
Nextcloud has a cool feature in the container deployments, that automatically connects everything and creates the necessary user. Just point your browser to IP_ADDRESS:8080 and you should be greeted by the below screen. In case this does not work, the post-installation may run in the background. Just wait for 10-30 seconds and retry.
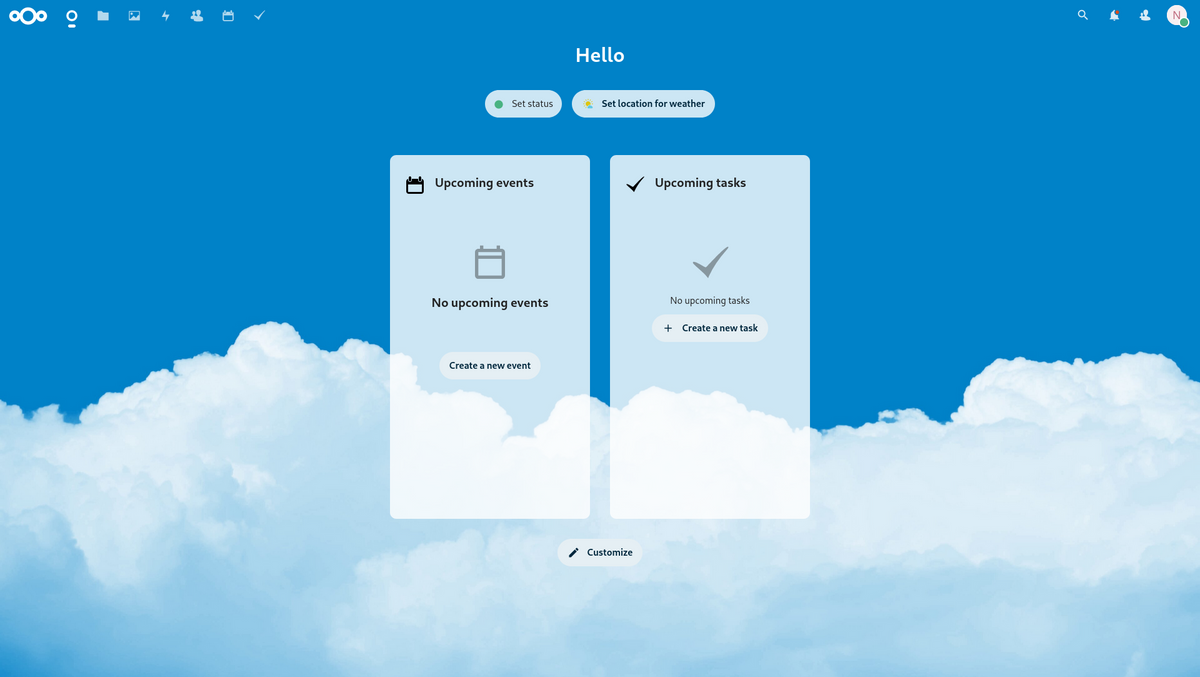
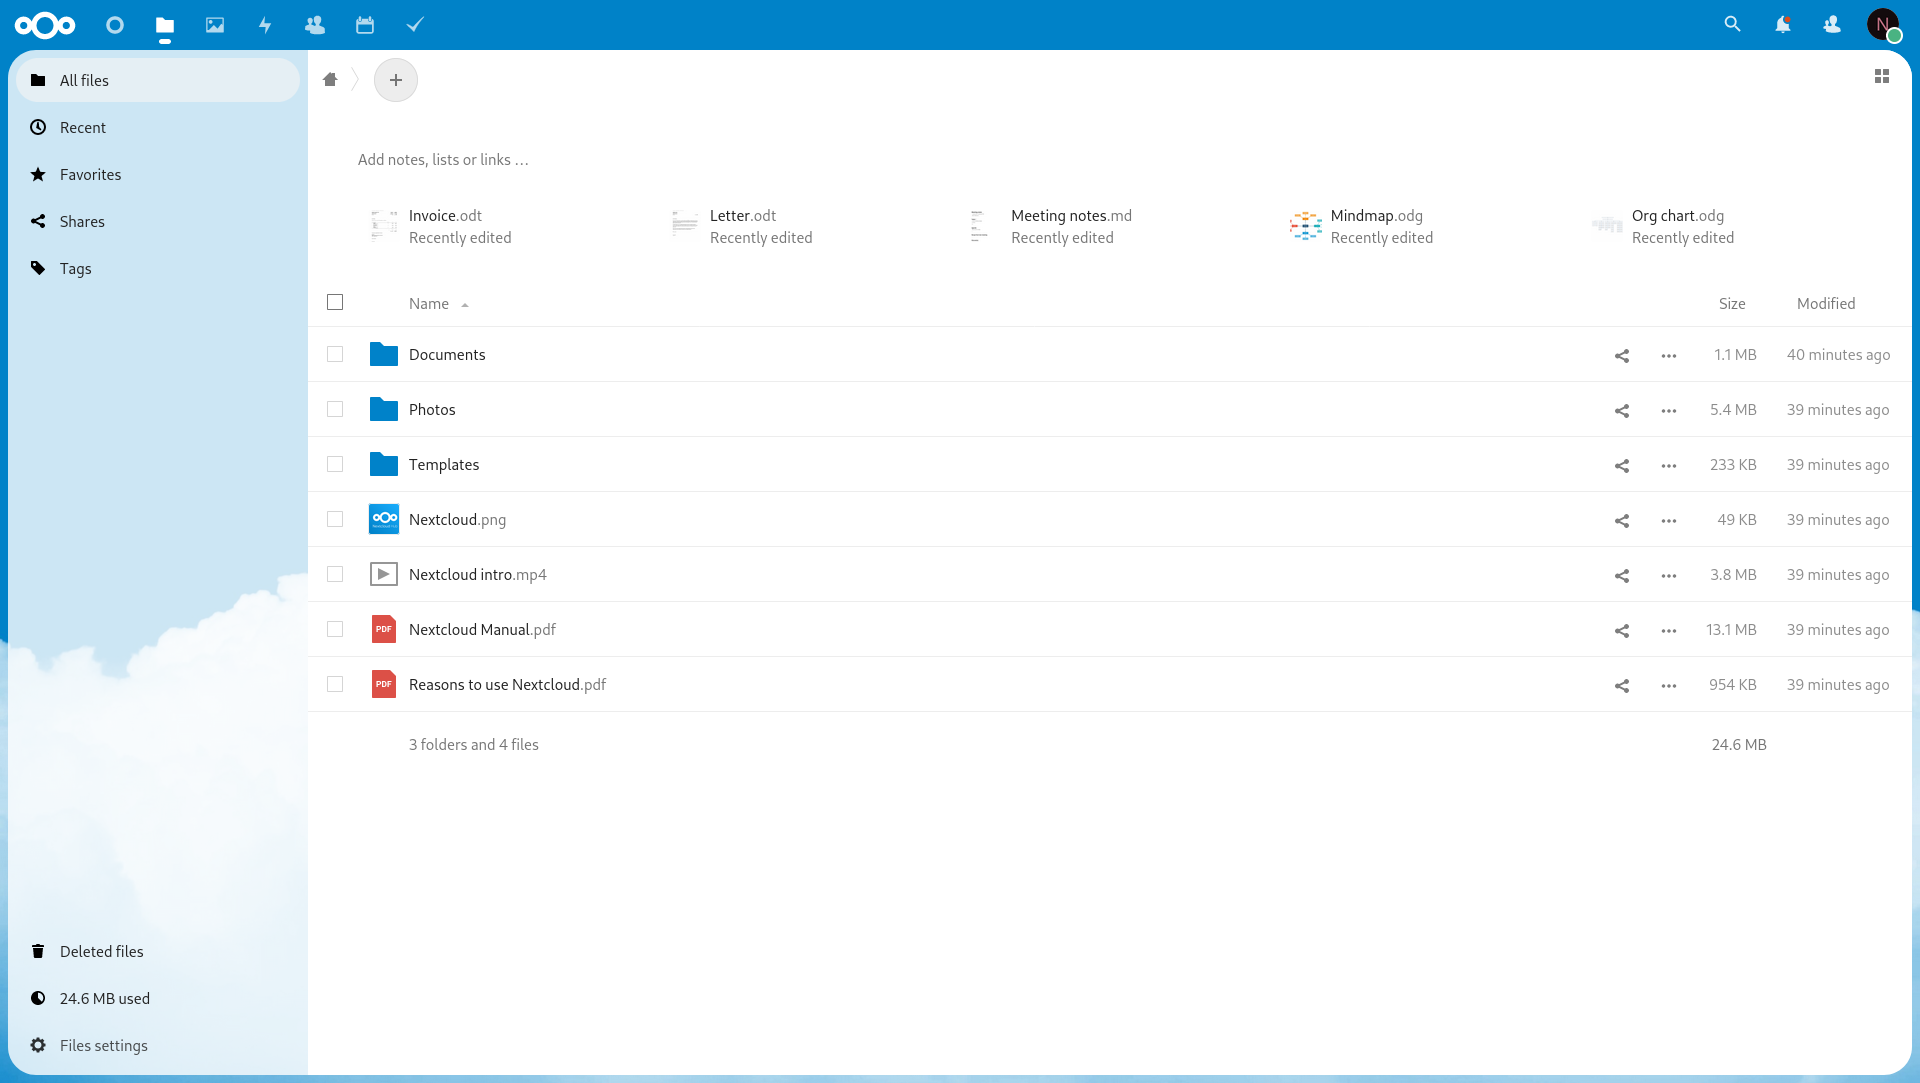
After the login with your provided credentials in the playbook, you will see a screen like the below.

You are done. Everything will work as you might expect it. For small installations, this setup should do the trick.
Syncing Devices
Now that everything is set up and working, you can configure your client devices. In general, there should be lots of possibilities, but let me explain some examples in a bit more details. Before you can start syncing all of the above, you will need to install a couple of apps.
Nextcloud's applications
To enable the synchronization of contacts and calendar items, you will need some applications. Point your mouse to the "user-icon" in the top right corner and navigate to "Apps". This is the application marketplace, where you can search, install, update and remove applications.
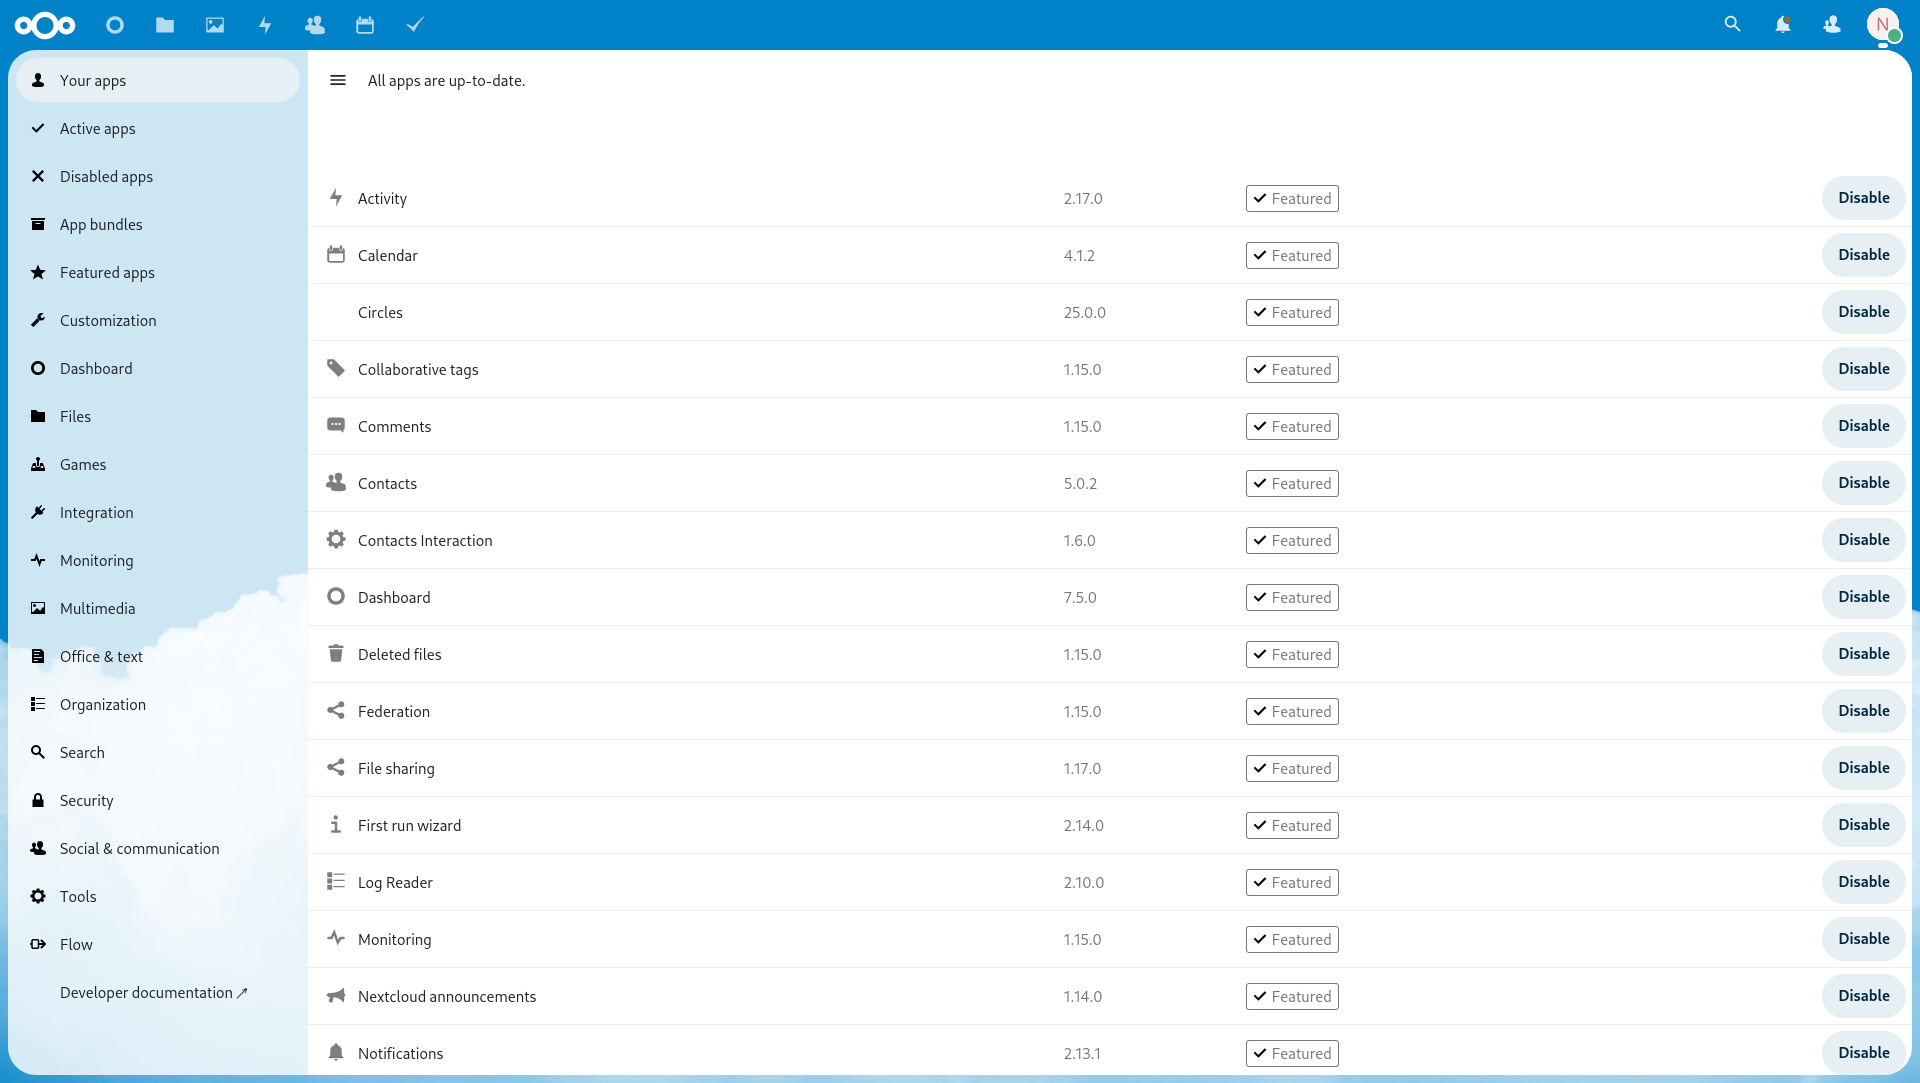
For now, we will need the "Contacts" app, "Calendar" app and maybe the "Tasks" app. I am also a huge fan of the "Deck" app. It is a Kanban board application that integrates well with the others.
GNOME Online Accounts
In GNOME Shell, it is super easy to synchronize things with Nextcloud. If you have GNOME Contacts, GNOME Calendar and GNOME ToDo (aka Endeavor), GNOME Online Accounts can be used for synchronization of these apps.
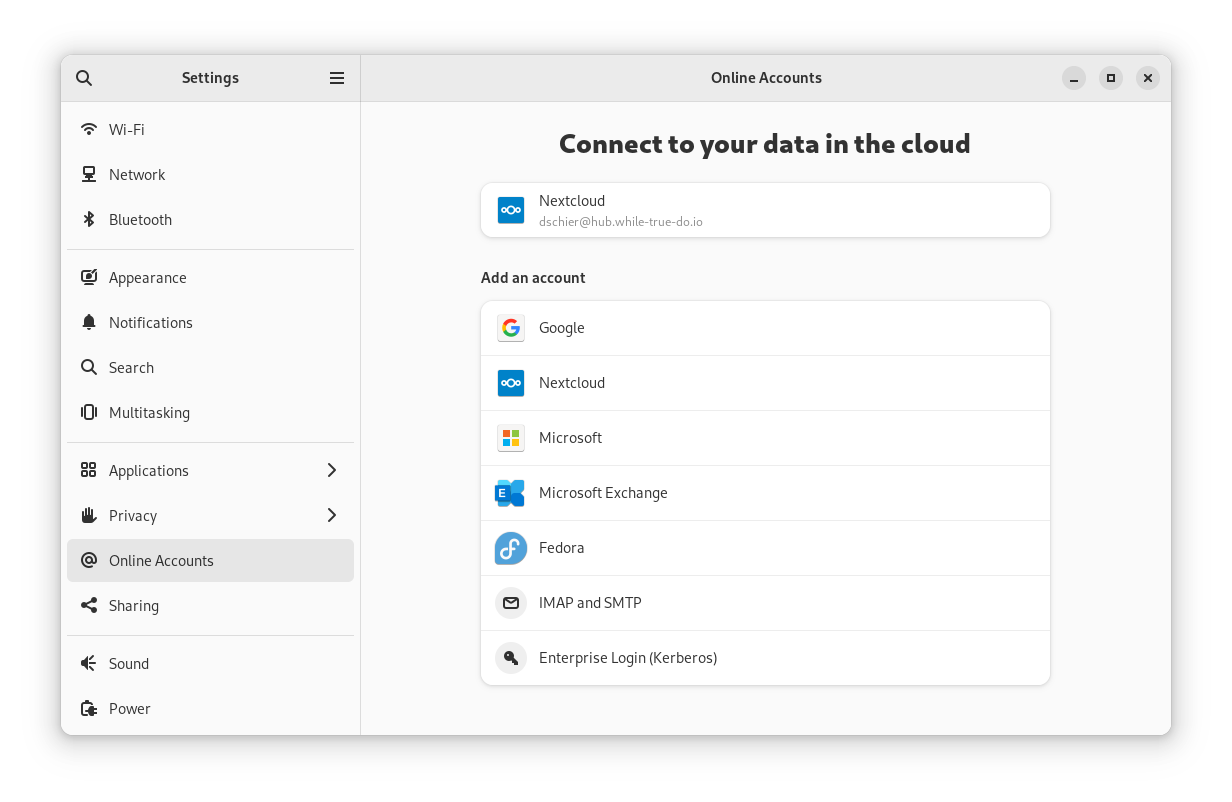

Just open GNOME Settings and look for "Online Accounts". There you need to enter the URL, your credentials, and you are good to go. The "Files" option creates a Shortcut in Nautilus, which points to your files via WebDAV. This is not as comfortable as synchronization, but you can access your data.
If you want to have a dedicated Nextcloud folder, you can install the Nextcloud Desktop client. The client is available as Flatpak.
# Install Nextcloud Client
$ flatpak install flathub com.nextcloud.desktopclient.nextcloud
Other devices
If you also want to sync Windows, Android or iOS, the Nextcloud developers are maintaining a dedicated page for the same, that might be interesting for you.

Docs & Links
Nextcloud is super powerful. There are hundreds of applications you can add to it and many additional configuration steps, you can add.
 The Nextcloud Community
Furthermore, I am also maintaining a role in the "whiletruedoio.container" repository, which may be worth a look.
whiletruedoioConclusion
Well, that's already it. The deployment might be a bit boring, but for me, this is a good thing. I really hope that the last 2 articles were helping you find a purpose for your home server. If both also taught you something about Ansible or Podman, that would be a huge plus for me.
There will be one more article this year about our home server. Please let me know what you are doing with it and which deployments you are running on it.